Showing posts with label woolen. Show all posts

Thursday, April 17, 2014

SpinU: Woolen Intensive - Week 6

The last class of the SpinU Woolen Intensive was primarily a wrap-up of all the things we learned, some show & tell, and some fiber swapping.

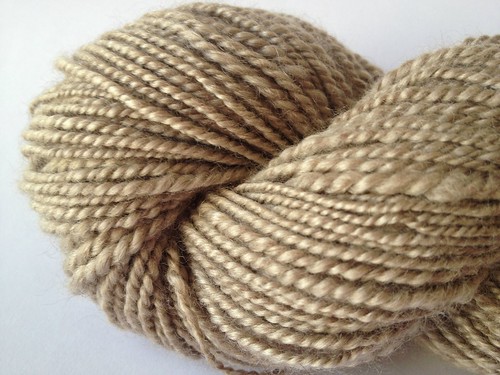
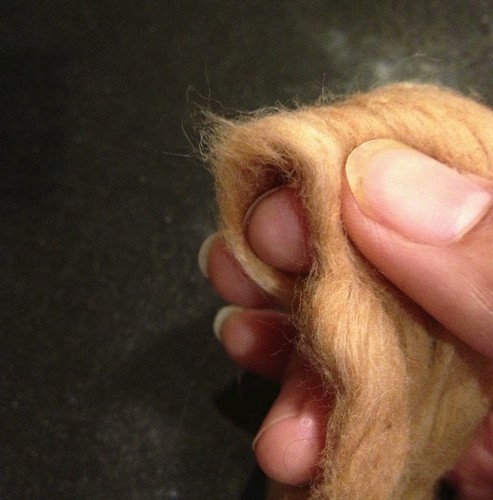
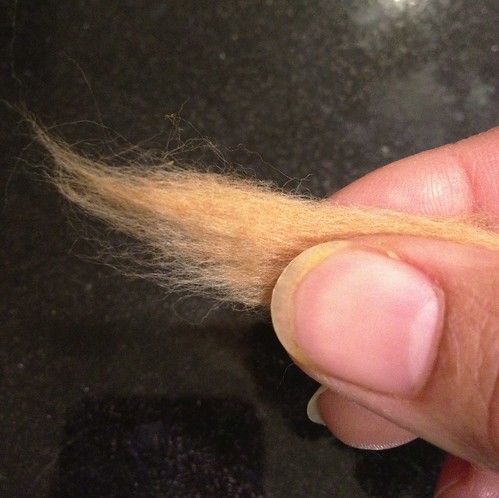
For my homework for this class, Sandi let us spin whatever fiber & fiber prep we wanted, but it had to come out a 2-ply fingering weight. For this, I chose 2 ounces (~56 grams) of pure cashmere.
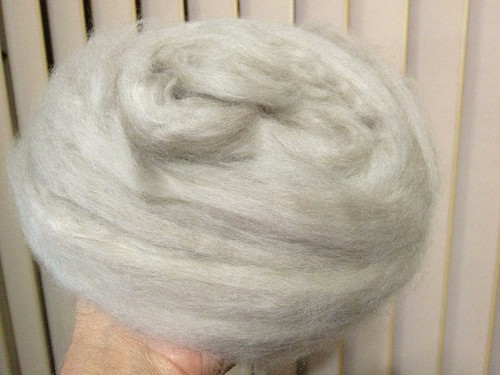
Untitled
(Looks like a cloud, doesn't it?)

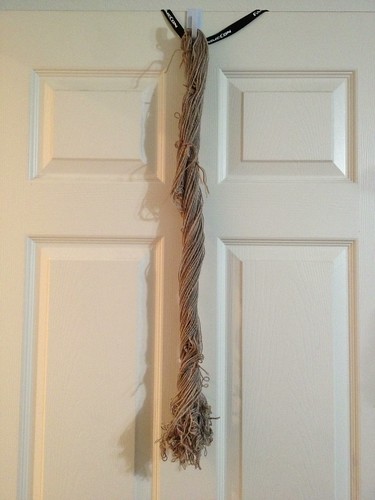
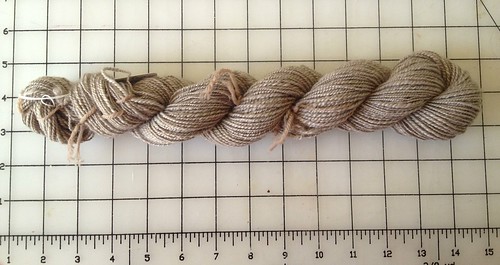
It was lovely, it was soft, and it spun like an absolute dream. When it came off the wheel, it was absolutely perfect -- slightly over twisted in the plying. Woolen-spun yarns tend to lose twist, so overplying by a little bit is a good thing here! I ended up with 160 yards.

Untitled

After washing and fulling it, it came out nearly balanced with a slight over twist. Perfect!
Untitled


Untitled 

Folks in class brought their homework for show & tell. There was plenty of lovely fibers; one student had such a stressful week that she managed to spin up vicuna, camel, cashmere, cotton silk, and a whole slew of other sampler skeins as her relaxation!

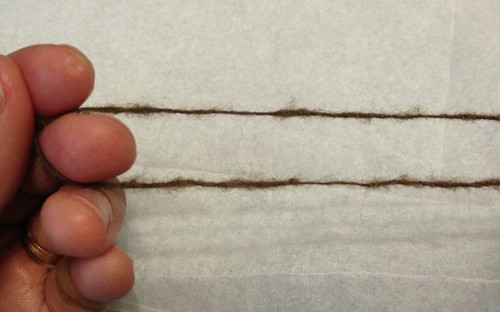
But for class, we primarily spun more fiber; I got to spin up a little bit of bison, while another student attempted some dog hair.

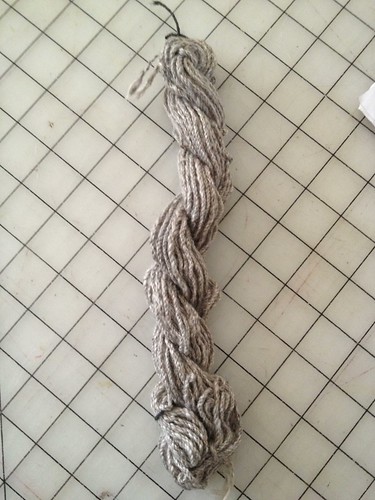
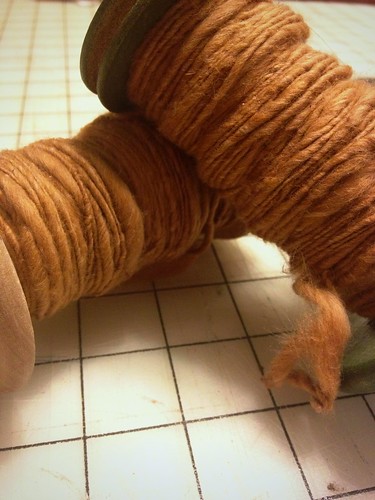
Bison is also a short staple length fiber, but I found it slightly harder than cashmere to spin. The fiber is not completely uniform in length --- bison are not bred for fiber -- so the fiber looks more "rustic". But, it's nearly as soft as cashmere (and just as warm).

Bison

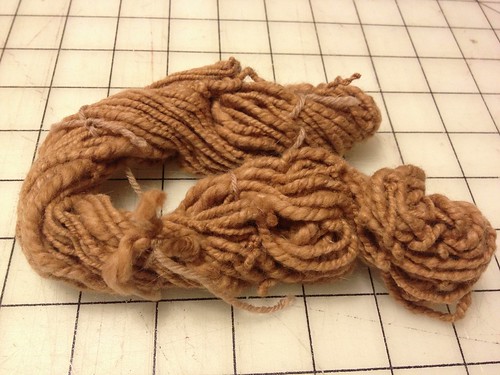
The finished skein is lovely. I washed and fulled it slightly for a nice halo effect. It's also about a heavy fingering weight.
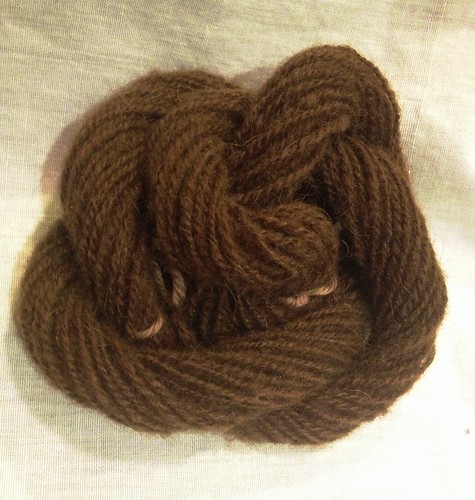
Bison

Friday, April 4, 2014

SpinU: Woolen Intensive - Week 5

For week 5 of the class, we took our homework (a 2-ply single) and created a 3-2 cable ply, which is 3 plies of 2-ply yarn. It's a lovely sturdy yarn, and if you're familiar with Cascade Greenland or Cascade Venezia, then you're familiar with this type of yarn.

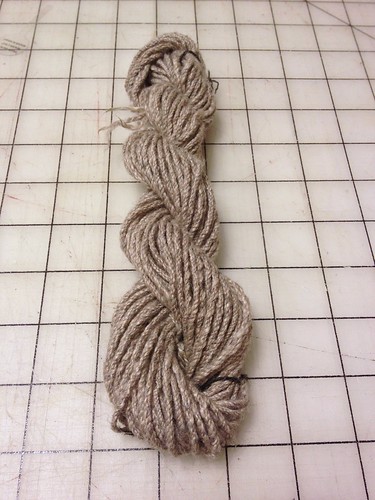
Because this type of yarn has so many plies, the singles have to be very thin. In this instance, I spun up about 80 WPI singles, which turned into a 40-WPI 2ply, which then became a 20-ply sportweight. Sandi suggested that I go ahead and wash/full the resulting yarn, and oh boy, what a difference!


UntitledUntitled
The yarn (before fulling) and then after.

For woolen spun yarns (even cable plied yarns), a rigorous fulling (including thwacking the yarn) helps the fibers fluff out and become more stable.

(Have I mentioned I love spinning yak & cashmere?)

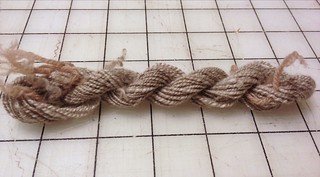
In addition, we continued spinning cotton in class for practice, and I was getting fairly frustrated with some of the cotton top I was spinning, so Sandi started swapping out what I was spinning, and what a difference!. Check out the differences in both types of cotton that I spun within 10 minutes of each other.

Untitled

I finally found a cotton top that allows me to spin relatively well and allowed me to refine my technique and spin thinner. While cotton is still not my ultimate spinning fiber, we are finally starting to get along, albeit slowly.

Next week is our last class for this SpunU, which is slightly sad, but so far it's been a great learning experience.

Wednesday, April 2, 2014

SpinU: Woolen Intensive - Week 4

This week, our practice with cottons paid off, as we started spinning some luxury fibers -- yak/merino, yak/merino/silk, cashmere/merino, cashmere/merino/silk, cashmere.

Unlike cotton, the shorter staple fibers (yak & cashmere) still have scales along the hair shafts (very small scales, but still there) which help in the spinning process. Mix blends (such as those mentioned above) are easier to spin initially because the different staple lengths help stabilize the shorter ones.

In a yak/merino/silk blend, the merino acts as the middle man to bridge the gap between the staple lengths of yak (very short) and silk (VERY long). Whereas in a yak/merino blend, the merino acts as the long staple length.

For homework, we spun various singles and then created a 2-ply. Sandi asked us to ply as close to class as possible, in order to keep as much active twist in the bobbin, because woolen spun yarns tend to lose twist, even in plying. We were going to do a 3-2 cable ply in class.


Untitled

It was very fun spinning the luxury fibers. It was a much different experience than having to deal with cotton.

Tuesday, April 1, 2014

SpinU: Woolen Intensive - Week 3

I'm trying to catch up on all of my crafty & geek blogging, but have failed miserably. I promise more interesting stuff to come down the pike.

So, week 3 of the SpinU Woolen Intensive has come and gone (expect some rapid fire posts on this subject soon!) We continued working on spinning from the fold, but transitioning to the tips of the fiber. (Abby Franquemont has a good explanation of spinning from the fold on her website.)

Spinning from the FoldSpinning from the tips
(Spinning from the Fold / Tips)

Why, you might ask? Because spinning from the fold is a lot easier, but you end up with waste, whereas spinning woolen from the tips is more fiber-efficient. There are those that might argue about whether one method is more truly "woolen" than the other, but as Sandy points out, when you're spinning cashmere @ $10 USD per ounce (~28 grams), you're more worried about using your fiber with as little waste as possible.

In addition to working on this transition, we were working with short staple fibers --- namely, cotton. From the last SpinU, cotton was my bane. I had such trouble with it.

However, with this SpinU class, it has gotten a LOT better. Cotton & I are still not on great terms, BUT, I can spin a passable form of cotton. And, I found that the type of cotton grown and the type of preparation really does make a difference in how well I can spin it. Just like wool, not all cotton is equal and is dependent on a number of factors. Previously, I found punis easier to spin, but this time around, I could spin certain cotton tops easier than others.

For homework, we were to spin a larger single (nearly sport weight) of cotton, which was harder than I had anticipated, but apparently, to be expected. Then ply the singles into a 2-ply.

Cotton! 

The result, while not fantastic, wasn't too bad either. In the pre-wash photo, it's a very tight ply, because woolen (unlike worsted spun yarns) don't tend to hold their twist, so overplying becomes necessary.

Untitled

There's a mantra for spinning woolen that I picked up from Judith MacKenzie (paraphrase) -- spin singles lightly, ply together tightly.

Next up, luxury fibers!

Wednesday, March 19, 2014

SpinU: Woolen Intensive - 2nd week

The second class of SpinU has come and gone, and I'm still learning new stuff. The homework due for class was to spin a 2-ply yarn out of our singles

Untitled

The resulting yarn was a very lofty 2-ply yarn (80 yards.

For the second class, we worked on perfecting our woolen joins from both the fold and at the tips of our prepped fiber. In order to see if we were doing the joins correctly, we used alternating black and white merino fiber.

This was not as easy as I had thought or had hoped. Because you allow the twist to go into the fiber, when you join new fiber, you might get a thin & thick spot as the twist works its way through the fiber supply as you pull backwards.

A picture is worth a thousand words, so here is a shot of what I mean. I'm spinning relatively thinner yarn (about fingering weight as a single), so it might not be clearly obvious, but when you ply this yarn back on itself, you can clearly see that there are uneven spots

Untitled

According to Sandi, we could "cheat" and do a worsted join into our fiber, as the joined fibers would be going in the "correct" direction as woolen spinning. However, for a "true" woolen spun yarn (for the spinning nazis out there), we should learn how to do a good woolen join instead, which becomes more important as you start spinning shorter staple fibers such as cotton, camel, and quivit!

For homework, we continued to work on doing woolen joins and creating a 2-ply yarn so we can really tell if our joins looked good.

Untitled

Wednesday, March 12, 2014

Learning to Become Better - SpinU Intensive on Woolen Spinning

Several months ago, Sandy from Purlescence Yarns pinged me. Would I be interested in taking a 6-week intensive class on woolen spinning?

You betcha! I love, love, love, love woolen spinning and I want to get better at it. The woolen yarn I create is lovely, warm, and very airy.


Woolly Mutant

One of my very favorite handspun, handknit sweater is made out of woolen yarn.

Gretta's Sweater 3

But I want to get better at woolen spinning. Sandy is an amazing teacher and this class was going to be an opportunity to become a better woolen spinner.

The first class was going over the basics. Some students hadn't spun woolen yet, and some had.  I usually have a problem starting a woolen draw, which usually end in a lot of cursing and wasted fiber until I get into a groove. There is a fine line between ensuring that enough twist can get into the fiber so it won't fall apart and too much twist where the fiber breaks. On my own, it can be hard to determine this fine line.

Sandy went over some of that information including some basic exercises -- short forward draw, short backward draw, supported draw, and a few other draws with which I was not familiar. She showed how we could use these different draws to learn woolen. These exercises really helped me start woolen spinning a lot faster than normal, with less cussing and less waste of fiber.

I love learning new things!

As per usual, we got some homework --
  • spin a woolen single yarn and to set the twist (but not to full). This would help determine what our "natural" spinning tendencies, in regards to WPI.  I ended up with a 28-30 WPI skein, which is about a fingering weight yarn.
  • Untitled

  • spin two bobbins of woolen spun yarn to to make a short sample 2-ply skein during class.
I'm really looking forward to the rest of the 6-week class and see how my spinning technique progresses.