Showing posts with label hall-costume. Show all posts

Friday, May 29, 2015

Cosplaying Gogo Tomago

For Fanime 2015, I decided to do a last minute hall costume of Gogo Tomago from Big Hero 6, because she's a kick-ass character, who is super smart, athletic and tough-as-nails. In essence, she is wicked cool.

Her street outfit was pretty straight forward, and it was comfortable for running around the convention. It took me about a day to purchase all of the clothes & materials, then a few hours to make what needed to be made.

I went to my local thrift shop, clothing store, pharmacy, and Joanns for the "raw" materials. I also pulled stuff from my own closet, which helped cut down on some costs. The only thing I had to order online was the wig.

I love thrifting for costumes, because it usually means I have minimal modifications that need to be done, which means I can spend more time sewing other costumes.

Stuff I had to make:
For Gogo, the only thing I had to make from scratch were her bike reflector bands. I found purple waistband elastic (1.5 inches) and white fold over elastic (5/8 inches) that were slightly reflective. I sewed them together. They pretty much came out perfectly. Overall cost for both of these items: $5.00


From the Thrift Store:
Here's what I managed to thrift:
  • Used black leather jacket from my local thrift store  - $8.00
  • Black running shorts - $2.00
The black leather jacket wasn't a perfect match since hers is more of a half-jacket, but it would work in a pinch.


The black running shorts had to be modified slightly to add the red stripes down the side as well as the small "V". These shorts were popular in the 1980s, but good luck finding them now! I added red satin ribbon down the sides and made a "V" by seam ripping the bottom portion of the shorts then restitching.


From Kohls and my local costume shop:
I was going to have buy leggings and purple tights for Gogo's outfit and do some modifications.  I found cheap dark grey capri leggings from Kohl's and some opaque purple tights from Leg Avenue from my local costume shop.

In order to get her look, I put on both tights and leggings. My Viking carefully pinned the tights to the leggings while I was wearing them so that both were stretched appropriately. Afterwards, I cut off the feet of the purple tights and sewed them together around the bottom of the legs. Then it was a matter of adding "artistic" holes.


Overall cost for both of these items: $20.00

From my closet:
For the rest of the outfit, I had a few things, including her white tank top, shoes, and bicycle gloves (that you can probably buy at any bike shop or on Amazon.) And bonus, there's a "G" for Gogo. :-)


I love it when I can re-use stuff for cosplay!

For the Wig:
The wig was the biggest cost for the outfit. I found the right wig from Arda Wigs (Magnum short at $30.00). I also ordered some purple wefts that I sewed into the wig. Luckily, Arda wigs has some pretty good tutorials for wig modification.

The wig was the biggest expense for the outfit, plus, it took a few days to arrive. The hardest part of this costume was sewing the purple wefts into the wig so that they would look correctly when worn.


From the Pharamacy:

I also did have to purchase special makeup for Gogo, as she wears purple eye shadow and pink blush, which are not in my normal makeup kit. (Cost: $10.00). Also, there are some excellent makeup tutorials for Gogo on YouTube. I practiced putting on this makeup for a few days, wearing it to work.


And my absolute last purchase for the costume was the bubble gum. (Cost: $1.50)


Because, well, it's Gogo and you need the bubble gum!


Time to Woman UP!

Thursday, May 28, 2015

Making the Princess Mononoke Cosplay Accessories: Part 2

For every costume, accessories must usually be made to complete the outfit. Luckily, the accessories for the Princess Mononoke cosplay were few and fairly simplistic to make.


She had:
1) Headband & arm bands
2) Earrings
3) Claw necklace, which acts as a counterweight to the cloack
4) A dagger (or spear)
5) Her masks.

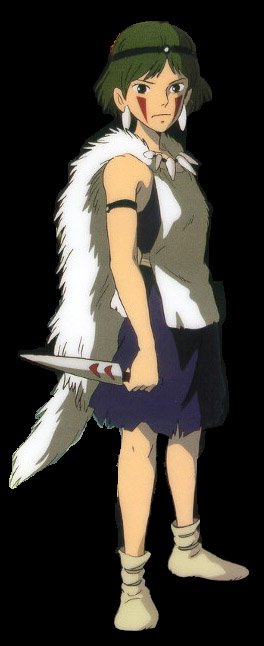
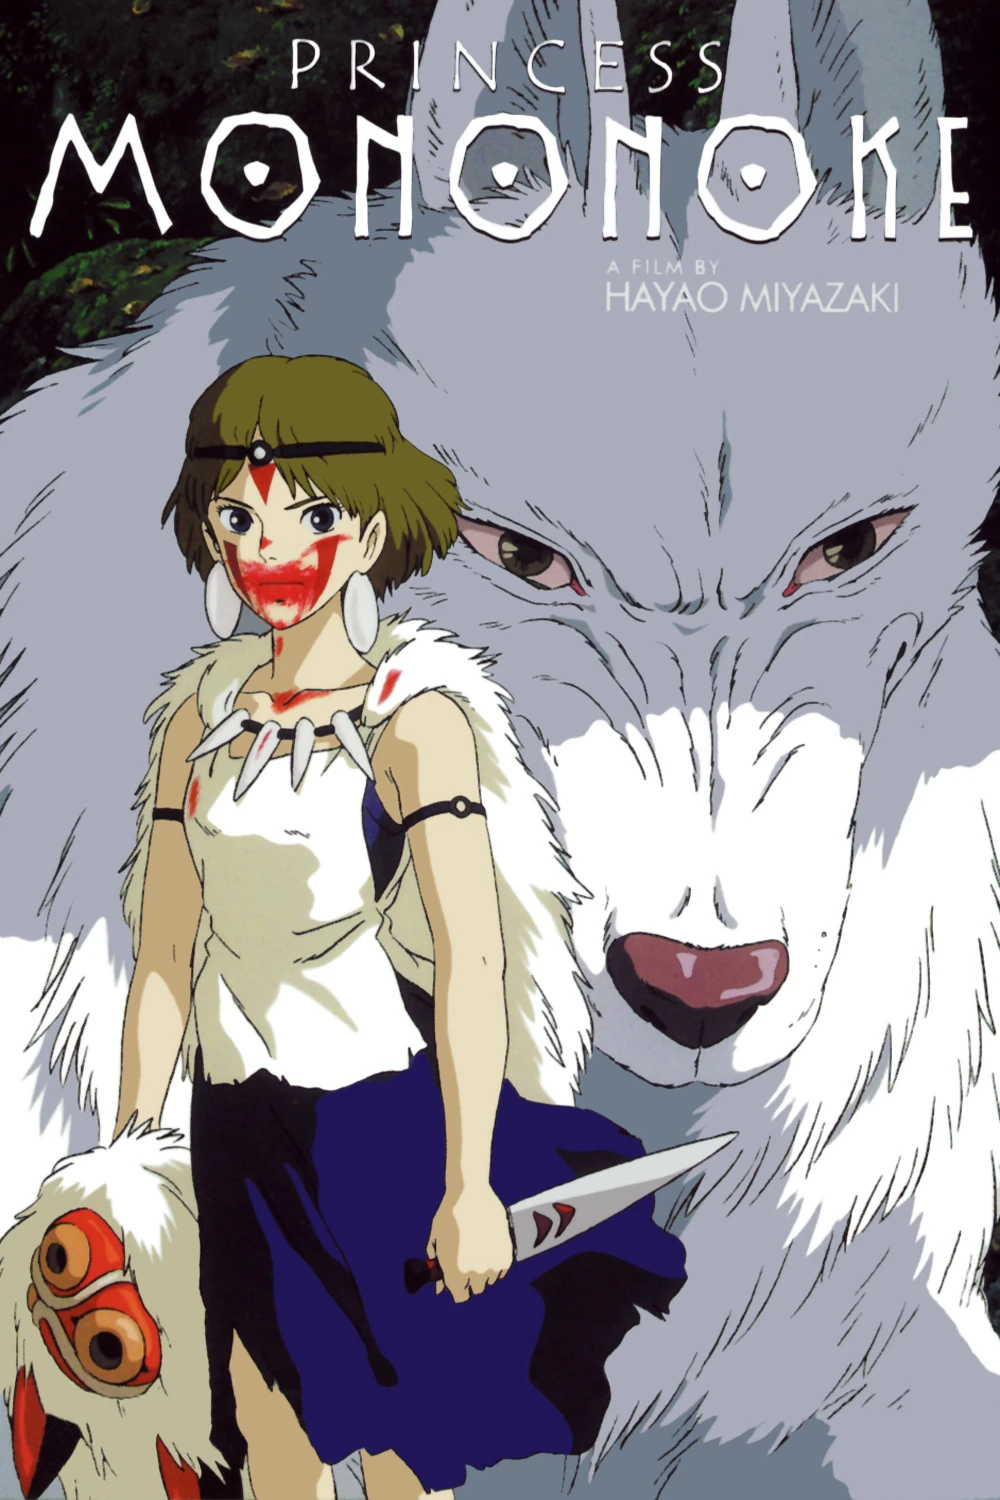
For Fanime 2015, I ran out of time to make her masks, but I managed to pull enough together to go as depicted in the above image. Since she is seen in the movie without her masks, I felt I could get away with not having it, especially as I was going to be working at Fanime.

The complete dress diary is here, including the costume creation.

Headbands & Armbands
At Joann's, I found thick round shell beads and black elastic. I simply sewed the shells into black elastic from Dritz.


I made 3 versions that could be easily tied onto my head and arms.


Earrings
The same trip to Joann's landed me these shell pendants (also on sale). They were the right shape and lightness. I picked up some cheap nail polish (White French tips for $0.99) and painted them.


Then I added earring findings.

Necklace
For the necklace, I wanted something 'heavy' to act as a counterbalance to the weight of the cloak. I bought 3 packages of white Sculpy and 2 packages of black.

Then sat around for an hour trying to get the shapes correct, especially for the claws. I added holes before baking the lot in the oven, per the directions.


Then I took leather and strung up the beads. The loops are for where I would hook them into the cloak via very large buttons.


Dagger

I could have made the dagger out of Sculpty as well. And I've also seen cosplayers make it out of cardboard. However, I have a 3D printer at work, so I thought to use that instead.

I modified an existing 3D project on Thingiverse to create the dagger for San. (The dagger files can be downloaded here, and are under a Creative Commons - Attribution Share Alike license. You can also find the original files that I modified.) 

The knife was printed in 7 different pieces. Six pieces made up two halves of the blade, then I created a new handle for it. Unfortunately, I forgot to take photos of the print job.

I've glued each half with an acetone/ABS glue that I made (using scraps of orange ABS). Hence, why you see orange on the handles.

After glueing the whole thing together, I sanded and painted it. 


Then it was a matter of putting on the final touches. I made a template of the "V"s on the dagger.

Then I wrapped the handle in leather to make it easier to hold.

As I mentioned before, I didn't have time to finish her mask, but I think I'll go ahead and finish up the entire outfit for next year again.


Wednesday, May 27, 2015

Making the Princess Mononoke Cosplay Outfit: Part 1

First up in making the Princess Mononoke costume was to get the main pieces of clothing:
  • The blue dress
  • The white apron
  • The white fur cloak.

Luckily, they were really easy to make.
You can find a complete dress diary for this cosplay here, including all of the accessories.


Blue Dress
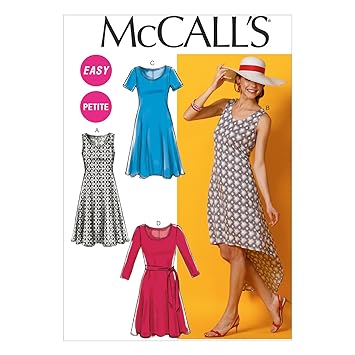
I used McCalls M6957 to create the dress. The pattern was very easy to make and the first mock-up fit nearly perfectly with only a few minor tweaks to the armscye.


It turned out fairly well, and very comfortable to wear. I chose a dark blue knit jersey. I'll probably end up wearing this dress during the summer with a nice shawl.


Apron
For the "apron", I draped and drafted it out on Esme, my dress dummy. 

I had imagined the white apron to be a leather of somesort, maybe doe-skin, but I didn't want the cost. Consequently, I used suedeclothe instead.


Because there's some inconsistencies on how the apron is drawn, I opted to go with a "tab" closure on the apron.

As a finishing touch, I used a leather stitch "X" to attach the tabs to the sides of the dress


Fur Cloak

For the fur cloak, I just didn't want plain white fur, because, outside of arctic or albino wolves, no wolf has complete white fur. Plus, there are photography issues when you have bright white fur.

I checked around all of my local fabric stores and ended up buying the fur cloak online from Fabric.com.  I found fur that was labeled "Husky" (as the dog), and really liked it. The fabric arrived in plenty of time. The fur is white with dark fur bits running through it.


There are two important things you need for cutting fur is a marker (or pencil) and a utility knife (not scissors) You draw out the shape you want, then use the utility knife to score and cut the fabric along the lines.


First, I sketched out the shape of a wolf hide. Here's the haunches and where I'd attach the tail

I cut the tail separately, although on hindsight, I could have just cut everything in one piece. The tail is attached to the cloak after.

I sewed bits of the tail to the inside to simulate curling.


Here's the cloak just pinned to the rest of the outfit.

Here's the back with the attached tail


Fake fur tends to lay flat without any movement. I added some tacks to the inside so that it would look better when worn as a cloak. Here are BEFORE the tacks (left) and AFTER adding the tacks (right)


And of course, the cats LOVED the extra bits of scrap fur laying around, which I let them play with, but I did put away the cloak when I wasn't working on it.


  • Go here for the complete making of the outfit.


Monday, September 9, 2013

The Making of a Costume: Waist Cincher (Part 2)

This cincher needed some additional structure in the form of boning. However, it doesn't need a lot of structure, but just "enough." Some time ago, I had purchased some very good "plastic" boning from Farthingales LA. Normally, I eschew the plastic boning you might normally get from a big box store like JoAnn's Fabrics, because it tends to "warp" over time.

However, a friend and former costuming instructor (who taught a class on corsets) highly recommended these plastic bones from Germany. I used them with great success on my 17thc corset (which I'll post about at a later date), and have been using them for garments that require very light boning.

Plus, the added benefit is that they can be shaped with a pair of scissors.


I cut the boning down to size. (Your garment must be mostly completed in order to size boning correctly. ) Then, using the oversized seam allowances, I created boning channels in the lining of the fabric.


I only added boning to the two side-back seams, as well as in the front piece where I'd be placing the grommets. The boning would add some structure and keep the laced grommets from de-forming the fabric.

Here's the finished front/back of the waist cincher. I sewed down the bottom edge, then top seamed all of the edges accordingly.

As you can see, it's only about 4 inches wide at the narrowest point, so it acts more like a "belt" than an infrastructure garment.

Once all of the sewing was done, I got out all of my grommetting tools:
  1. a marble slab to pound upon
  2. a plastic mallet
  3. an stiletto awl 
  4. a grommet anvil & setter
  5. nice heavy duty grommets (from Tandy Leather.)
  6. a piece of leather to place under the anvil.


I use the stiletto awl to pierce a hole through the fabric. I prefer this technique versus "punching" a hole through the favric.

I insert the grommet and use the setter to anchor it into the anvil. Then I use the rubber mallet to pound the grommet close. (I much prefer using "leather" grommets that you can get at Tandy Leather versus the very cheap metal versions from JoAnns or other big box stores.)

Viola! One nicely attached grommet. (You can see the two bone channels that will add stability to the grommets.

Whenever I add grommets to a garment, I always place the non-negotiable grommets (top and bottom) accordingly, then space out the rest as needed. I finished grommetting one side in under 10 minutes.

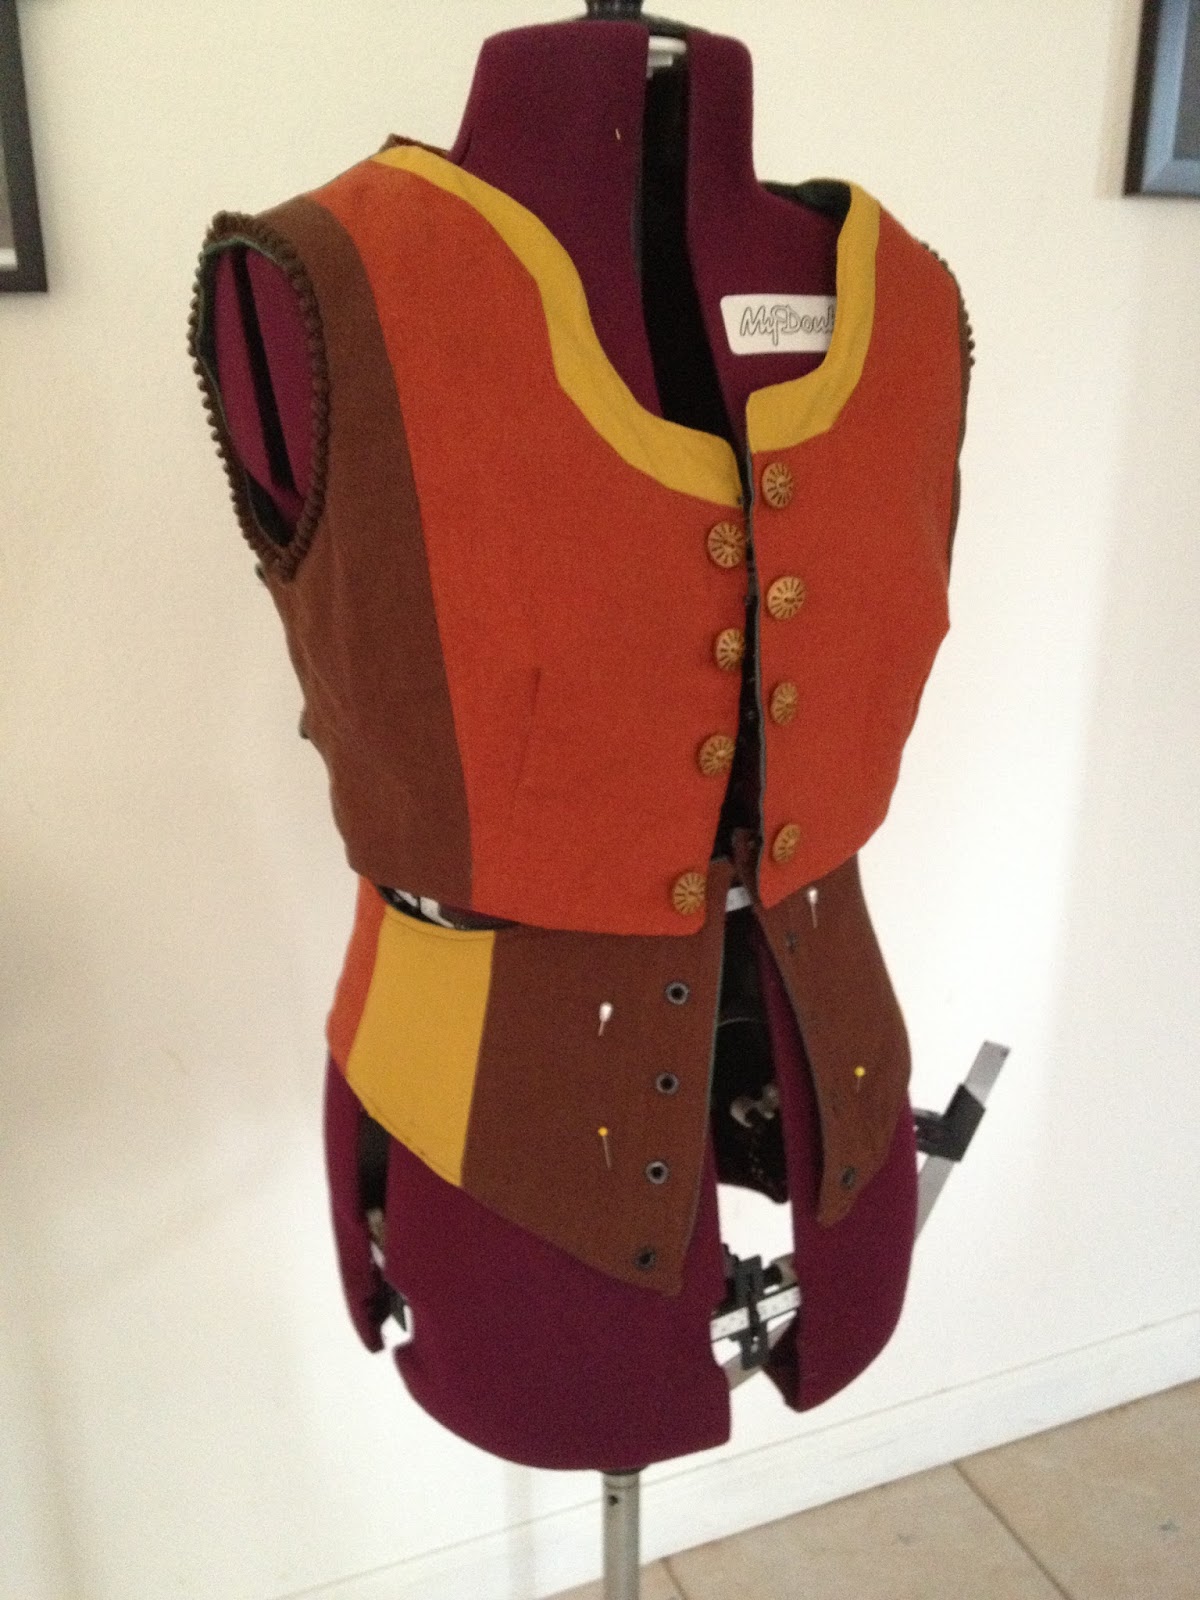
Once I finish up an edge, then use it as a "template" for the other side. In this way, I know that the grommets always line up. Here's the finished waist cincher pinned onto my mannequin (which doesn't fit it correctly as the mannequin "torso" doesn't match my own so it sits differently).

(On me, there is an 1.5" gap between the bottom of the vest and the top of the cincher)

The last thing added to the cincher was the lacing. I learned a nifty trick from looking at various costumes made especially for theatre-use -- sew the lacing directly into the garment bottom so you never have to look for lacing AND the lacing will always be the right "size" for your garment.


I tend to use flat cotton show laces whenever possible. This time, I used nylon ones, but you have to carefully burn the edges of the lacing so that it doesn't fray too badly. (Make sure you do this outside or with good ventilation!)

So, I am DONE with the sewing portion of particular costume. I tried on the whole outfit and it looks great. I still have to make a few accessories to go with the costume, but that'll be later.

And, of course, photos of the cats "supervising" my sewing efforts, and making sure the roll of boning doesn't fly off the table.