- medieval cats
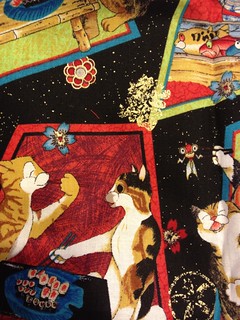
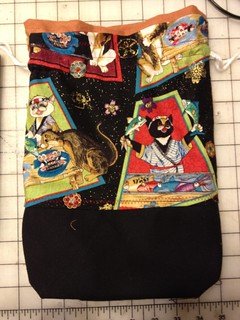
- cats & sushi (from my pattern holder)

Luckily, ditty bags are easy to make as it's a bunch of rectangles sewn together to form a bag. It takes less than an hour to make a ditty bag if you use a sewing machine, but it's just as easy to handsew a bag like this. If you've sewn something as simple as a pillowcase, you can sew a ditty bag.
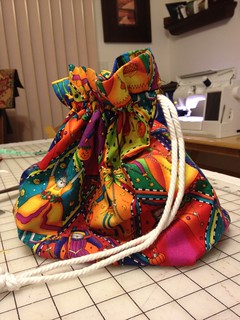
These particular ditty bags have a flat bottom, so will stand (more or less) when you put them down onto a table.
Instructions on How to Make Your Own Ditty Bag
Materials You Need:
- Fashion Fabric
- Lining fabric (preferably cotton)
- Cording (for the closure)
- Sewing machine or needle/thread
FIRST: Cut out your rectangles as shown in the illustration
- Cut 2 fashion fabric
- Cut 1 of the lining fabric

SECOND: Sew the seams as shown in the diagram with 1/2" seam allowance.
- Fashion fabric: Sew both side edges and the bottom edge
- Lining Fabric: Fold your fabric over and only sew one edge and the bottom.
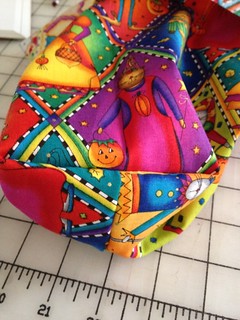
THIRD: Sew "triangles" along the bottom of the bag, which makes a flat-bottomed bag. (In the diagram, the dotted lines are the actual sewn seams.) The triangle is 2" from the tip. You can cut these triangles off later when you are happy with how it looks.

When you turn the bags right-side out, the flat bottom should look like this:
FOURTH: Insert the lining into your bag WRONG SIDES together (DO NOT SEW...yet). Pin the lining to the fashion fabric together so it does not move. (I find that it is easy to line up the outside side seams and start pinning from there.)
FIFTH: Finish the top edges of your bag in whatever manner you choose. You can use bias tape (or french bind) the top OR fold in the edges and topstitch, serge the edges, or any motley of finishing techniques. (Note: You can also choose to do this as the last step.)
SIXTH: Sew the casing about 2" from the top of the bag (or to your liking). You need to sew two lines that are about .75" - 1" apart, depending on the size of your cording.
IMPORTANT: Make sure you REINFORCE the area where the outside seams are located by backstitching.

SEVENTH: Carefully seam rip the outside seams between the casing lines of the FASHION FABRIC ONLY. Do not seam rip the lining. You can do this on one or both sides, depending on how you want your bag to close. (Personally, I prefer two sided).
This gives you the casing for the drawstring closure.


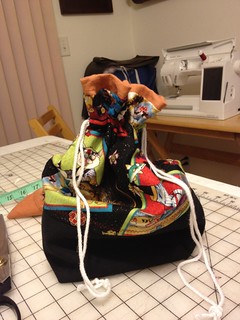
There are other variations you can choose to do with this type of bag, from fabric choices to making a reinforced bottom (like my cats&sushi bag -- I used black denim as a reinforced bottom).
But, I hope you like the pattern. Please let me know what you make from these instructions!
Wow !! grazie
ReplyDeleteRosy