Showing posts with label SpinU. Show all posts

Thursday, April 17, 2014

SpinU: Woolen Intensive - Week 6

The last class of the SpinU Woolen Intensive was primarily a wrap-up of all the things we learned, some show & tell, and some fiber swapping.

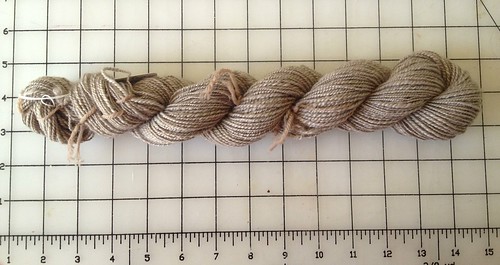
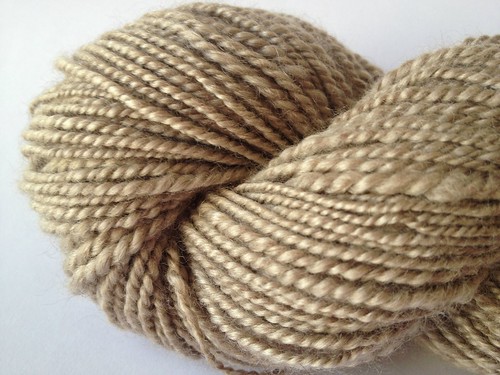
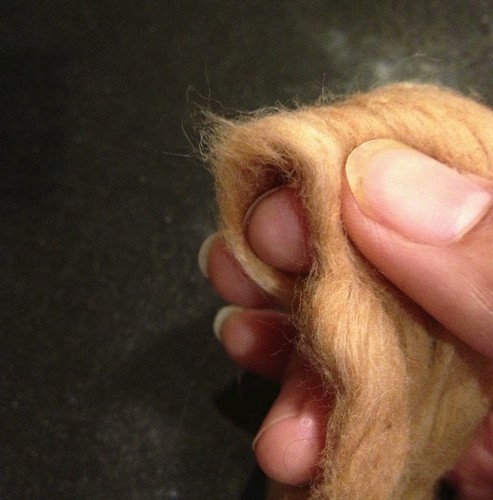
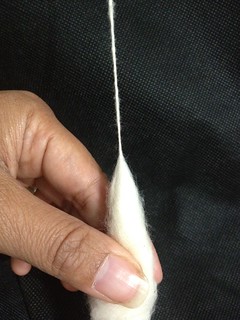
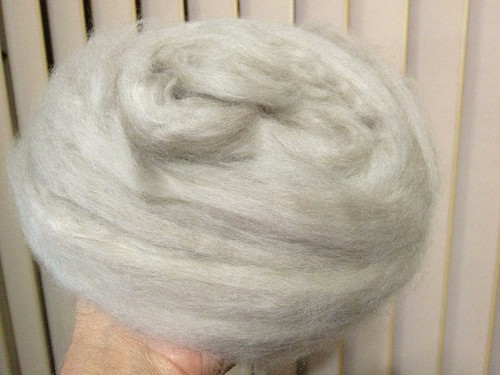
For my homework for this class, Sandi let us spin whatever fiber & fiber prep we wanted, but it had to come out a 2-ply fingering weight. For this, I chose 2 ounces (~56 grams) of pure cashmere.

Untitled
(Looks like a cloud, doesn't it?)

It was lovely, it was soft, and it spun like an absolute dream. When it came off the wheel, it was absolutely perfect -- slightly over twisted in the plying. Woolen-spun yarns tend to lose twist, so overplying by a little bit is a good thing here! I ended up with 160 yards.


Untitled

After washing and fulling it, it came out nearly balanced with a slight over twist. Perfect!

Untitled


Untitled 

Folks in class brought their homework for show & tell. There was plenty of lovely fibers; one student had such a stressful week that she managed to spin up vicuna, camel, cashmere, cotton silk, and a whole slew of other sampler skeins as her relaxation!

But for class, we primarily spun more fiber; I got to spin up a little bit of bison, while another student attempted some dog hair.

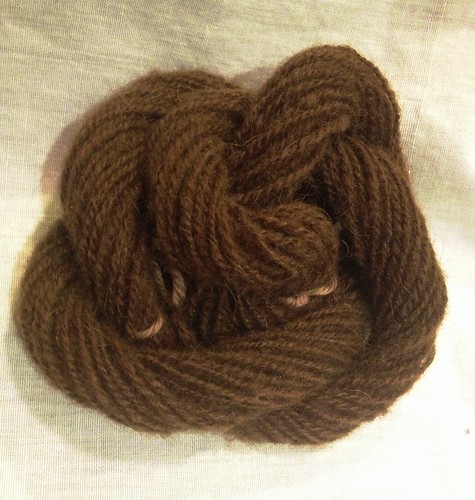
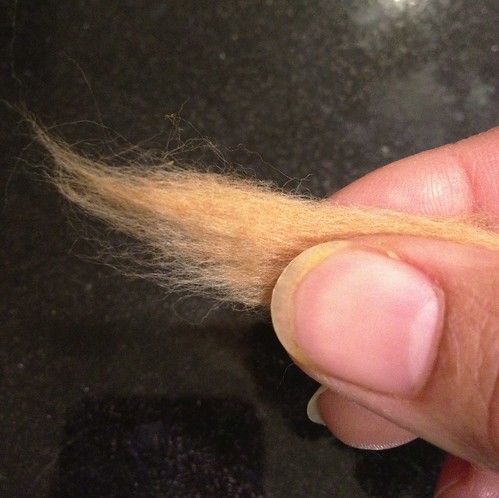
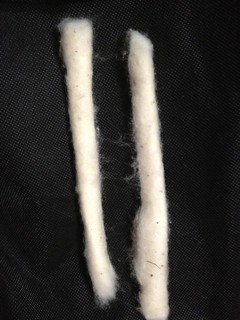
Bison is also a short staple length fiber, but I found it slightly harder than cashmere to spin. The fiber is not completely uniform in length --- bison are not bred for fiber -- so the fiber looks more "rustic". But, it's nearly as soft as cashmere (and just as warm).


Bison

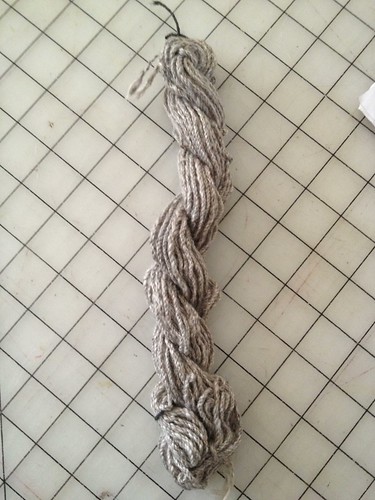
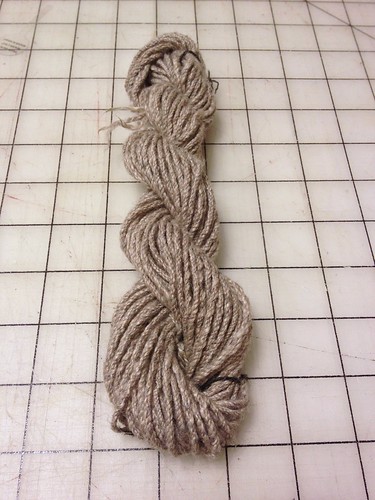
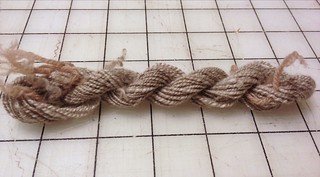
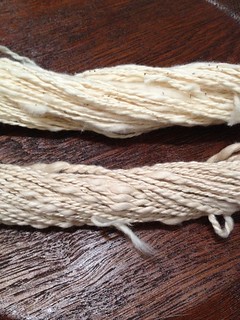
The finished skein is lovely. I washed and fulled it slightly for a nice halo effect. It's also about a heavy fingering weight.
Bison

Friday, April 4, 2014

SpinU: Woolen Intensive - Week 5

For week 5 of the class, we took our homework (a 2-ply single) and created a 3-2 cable ply, which is 3 plies of 2-ply yarn. It's a lovely sturdy yarn, and if you're familiar with Cascade Greenland or Cascade Venezia, then you're familiar with this type of yarn.

Because this type of yarn has so many plies, the singles have to be very thin. In this instance, I spun up about 80 WPI singles, which turned into a 40-WPI 2ply, which then became a 20-ply sportweight. Sandi suggested that I go ahead and wash/full the resulting yarn, and oh boy, what a difference!


UntitledUntitled
The yarn (before fulling) and then after.

For woolen spun yarns (even cable plied yarns), a rigorous fulling (including thwacking the yarn) helps the fibers fluff out and become more stable.

(Have I mentioned I love spinning yak & cashmere?)

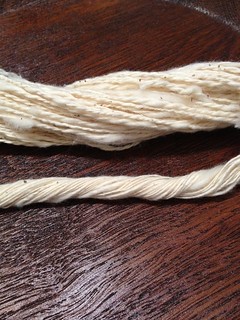
In addition, we continued spinning cotton in class for practice, and I was getting fairly frustrated with some of the cotton top I was spinning, so Sandi started swapping out what I was spinning, and what a difference!. Check out the differences in both types of cotton that I spun within 10 minutes of each other.

Untitled

I finally found a cotton top that allows me to spin relatively well and allowed me to refine my technique and spin thinner. While cotton is still not my ultimate spinning fiber, we are finally starting to get along, albeit slowly.

Next week is our last class for this SpunU, which is slightly sad, but so far it's been a great learning experience.

Wednesday, April 2, 2014

SpinU: Woolen Intensive - Week 4

This week, our practice with cottons paid off, as we started spinning some luxury fibers -- yak/merino, yak/merino/silk, cashmere/merino, cashmere/merino/silk, cashmere.

Unlike cotton, the shorter staple fibers (yak & cashmere) still have scales along the hair shafts (very small scales, but still there) which help in the spinning process. Mix blends (such as those mentioned above) are easier to spin initially because the different staple lengths help stabilize the shorter ones.

In a yak/merino/silk blend, the merino acts as the middle man to bridge the gap between the staple lengths of yak (very short) and silk (VERY long). Whereas in a yak/merino blend, the merino acts as the long staple length.

For homework, we spun various singles and then created a 2-ply. Sandi asked us to ply as close to class as possible, in order to keep as much active twist in the bobbin, because woolen spun yarns tend to lose twist, even in plying. We were going to do a 3-2 cable ply in class.


Untitled

It was very fun spinning the luxury fibers. It was a much different experience than having to deal with cotton.

Tuesday, April 1, 2014

SpinU: Woolen Intensive - Week 3

I'm trying to catch up on all of my crafty & geek blogging, but have failed miserably. I promise more interesting stuff to come down the pike.

So, week 3 of the SpinU Woolen Intensive has come and gone (expect some rapid fire posts on this subject soon!) We continued working on spinning from the fold, but transitioning to the tips of the fiber. (Abby Franquemont has a good explanation of spinning from the fold on her website.)

Spinning from the FoldSpinning from the tips
(Spinning from the Fold / Tips)

Why, you might ask? Because spinning from the fold is a lot easier, but you end up with waste, whereas spinning woolen from the tips is more fiber-efficient. There are those that might argue about whether one method is more truly "woolen" than the other, but as Sandy points out, when you're spinning cashmere @ $10 USD per ounce (~28 grams), you're more worried about using your fiber with as little waste as possible.

In addition to working on this transition, we were working with short staple fibers --- namely, cotton. From the last SpinU, cotton was my bane. I had such trouble with it.

However, with this SpinU class, it has gotten a LOT better. Cotton & I are still not on great terms, BUT, I can spin a passable form of cotton. And, I found that the type of cotton grown and the type of preparation really does make a difference in how well I can spin it. Just like wool, not all cotton is equal and is dependent on a number of factors. Previously, I found punis easier to spin, but this time around, I could spin certain cotton tops easier than others.

For homework, we were to spin a larger single (nearly sport weight) of cotton, which was harder than I had anticipated, but apparently, to be expected. Then ply the singles into a 2-ply.

Cotton! 

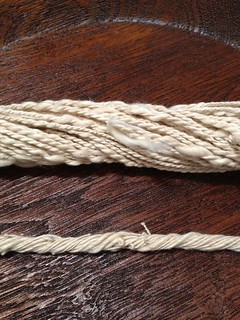
The result, while not fantastic, wasn't too bad either. In the pre-wash photo, it's a very tight ply, because woolen (unlike worsted spun yarns) don't tend to hold their twist, so overplying becomes necessary.

Untitled

There's a mantra for spinning woolen that I picked up from Judith MacKenzie (paraphrase) -- spin singles lightly, ply together tightly.

Next up, luxury fibers!

Wednesday, March 19, 2014

SpinU: Woolen Intensive - 2nd week

The second class of SpinU has come and gone, and I'm still learning new stuff. The homework due for class was to spin a 2-ply yarn out of our singles

Untitled

The resulting yarn was a very lofty 2-ply yarn (80 yards.

For the second class, we worked on perfecting our woolen joins from both the fold and at the tips of our prepped fiber. In order to see if we were doing the joins correctly, we used alternating black and white merino fiber.

This was not as easy as I had thought or had hoped. Because you allow the twist to go into the fiber, when you join new fiber, you might get a thin & thick spot as the twist works its way through the fiber supply as you pull backwards.

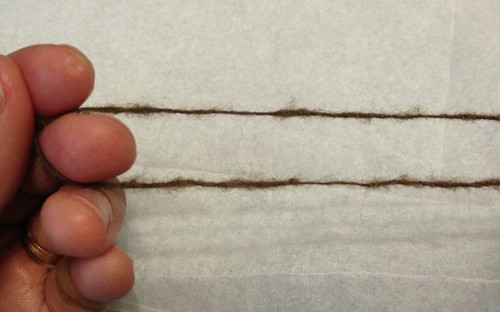
A picture is worth a thousand words, so here is a shot of what I mean. I'm spinning relatively thinner yarn (about fingering weight as a single), so it might not be clearly obvious, but when you ply this yarn back on itself, you can clearly see that there are uneven spots

Untitled

According to Sandi, we could "cheat" and do a worsted join into our fiber, as the joined fibers would be going in the "correct" direction as woolen spinning. However, for a "true" woolen spun yarn (for the spinning nazis out there), we should learn how to do a good woolen join instead, which becomes more important as you start spinning shorter staple fibers such as cotton, camel, and quivit!

For homework, we continued to work on doing woolen joins and creating a 2-ply yarn so we can really tell if our joins looked good.

Untitled

Wednesday, March 12, 2014

Learning to Become Better - SpinU Intensive on Woolen Spinning

Several months ago, Sandy from Purlescence Yarns pinged me. Would I be interested in taking a 6-week intensive class on woolen spinning?

You betcha! I love, love, love, love woolen spinning and I want to get better at it. The woolen yarn I create is lovely, warm, and very airy.


Woolly Mutant

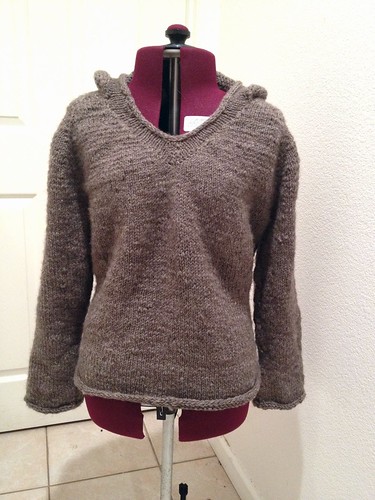
One of my very favorite handspun, handknit sweater is made out of woolen yarn.

Gretta's Sweater 3

But I want to get better at woolen spinning. Sandy is an amazing teacher and this class was going to be an opportunity to become a better woolen spinner.

The first class was going over the basics. Some students hadn't spun woolen yet, and some had.  I usually have a problem starting a woolen draw, which usually end in a lot of cursing and wasted fiber until I get into a groove. There is a fine line between ensuring that enough twist can get into the fiber so it won't fall apart and too much twist where the fiber breaks. On my own, it can be hard to determine this fine line.

Sandy went over some of that information including some basic exercises -- short forward draw, short backward draw, supported draw, and a few other draws with which I was not familiar. She showed how we could use these different draws to learn woolen. These exercises really helped me start woolen spinning a lot faster than normal, with less cussing and less waste of fiber.

I love learning new things!

As per usual, we got some homework --
  • spin a woolen single yarn and to set the twist (but not to full). This would help determine what our "natural" spinning tendencies, in regards to WPI.  I ended up with a 28-30 WPI skein, which is about a fingering weight yarn.
  • Untitled

  • spin two bobbins of woolen spun yarn to to make a short sample 2-ply skein during class.
I'm really looking forward to the rest of the 6-week class and see how my spinning technique progresses.

Wednesday, March 13, 2013

SpinU: Wrap Up

Since I have spinning on the brain, I realized that I never did a post about the final weeks of SpinU. (Plus I was taking inventory of my handspun, when I came across all of the sample skeins I created.)

For Weeks 11-12, we worked a bit more on Art Yarns, as well as working with luxury yarns, such as bison and cashmere.

It was a class where I really learned a lot and improved on my spinning skillset. It was a LOT of work (with a lot of homework that guaranteed that I was spinning every single night). Often times, there was plenty of spinning just singles so we could ply in class. or maybe some plying as homework for use in other projects. Despite all of the work, it was also a lot of fun. Our instructor, Sandy, was an excellent teacher. My classmates were clever and funny, and we supported each other through every assignment. (Plus, you got to see how other people did --- their frustrations and successes.)

I might take SpinU again in the future to refresh some of what I learned -- because I know I didn't grok some of what Sandy was explaining to us at that time. There was just SO much information that required processing.

If you have a LYS near you that offers something like SpinU, I highly suggest it. For the price, it was a great deal of learning and improving skillsets! (And for those of you in the SF Bay Area, Purlescence Yarns, offers this class (and a "beginners" SpinU) regularly.


Photo Summary of SpinU

Here is photo synposis of the yarns that I spun. Some of these yarns, I've already knitted into garments and am showing the previous photos (and I'm pretty sure I'm missing 1-3 skeins that I spun up for the class!)

Plant Fibers:

From left to right:
  • Cotton Woolen - 2ply
  • Cotton Worsted - 2ply
  • Hemp, - 1ply
  • Flax (wet spun) - single ply
  • Bamboo Bast - 2-ply
And, for the record, I'm not a fan of spinning plant fiber.

Art Yarn Spun:

From left to right:
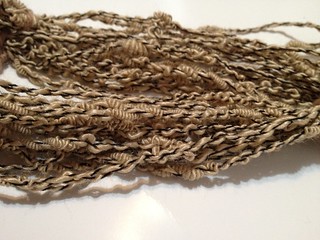
  1. Beehives - black nylon yarn used as a base with tightly plied 2-ply silk to make the beehives.
  2. Encasement Art Yarn - nylon yarn with a motley of feathers, eyelash yarn, etc, used.
  3. Boucle - nylon base yarn with some generic wool singles
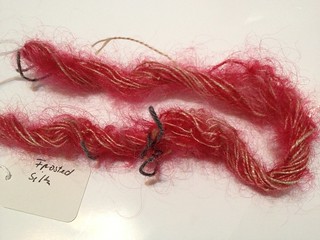
  4. Frosted Yarn - using a 2-ply silk yarn (I spun earlier) and some red fiber


When I brought home the "Encasement Art Yarn", DH thought it looked like Muppet Intestines. LOL . This yarn was a LOT of fun to create, but not something that I would use on a regular basis. But, creating this yarn is really the culmination of every technique that we learned in class.

More Art Yarn: Thick & Thins

Thick & Thin single using a slightly felted top -- I had overdyed some top and it came out every so slightly, which is perfect for this type of art yarn. (I gave this yarn away to one of my classmates.)

Thick Thin after washing2

(L2R)
  1. Thick & Thin Single - Using a batt
  2. Thick & Thin 2ply. Using some of the 1st skein, I made a second thick & thin out of contrasting yarn and plied them together. 


I found that I actually enjoyed making thick & thin yarn from a batt versu the felted top. Sandy suggested maybe weaving with it, so that's what I'm going to do with this one.

Luxury Fibers:

I loved spinning these luxury fibers! I must spin more! Although, admittedly, I wasn't too happy spinning 100% silk. A few strands got into my eye and it was PAINFUL! (One of the hazards of spinning with silk.)

 From left to right:
  • Cashmere/Silk - 52 yards - (1/2 oz) - 30% twist. 16-17 WPI. Ratio 12.5:1
  • Bison (Woolen), 15 yards. -2ply 1/2 oz - Ratio 6.75:1
  • Bison (Worsted) - 20 yards - 2 ply - Ratio: 13.75:1
  • Not shown - 1 and 2-ply silk.


Spinning & Plying

One of the things we learned was how to spin the appropriate size of single for the resulting plied yarn that you wanted. So, if I wanted a 2-ply bulky (~6WPI), I knew exactly what size single I had to spin in order to achieve that bulky yarn. I'd never have to guess what type of singles I needed in order to make the yarn I wanted.

The following skeins were all spun with BFL or Cormo
From Left to right:
  • Woolen 4ply (2oz) - singles with 28-33WPI @ 20% twist,
  • 120 yards 2 ply, singles - 40 WPI @ 30% twist
  •  Worsted 3 ply,  > 30% twist angle


The following were spun with some of Purlescence's "Spin Up & Dye" fiber. What's nifty about using a dyed fiber is that you get to see how the color plays out in different weights & plies.

(L2R): 3Ply worsted; 2 ply bulky
Spin U - Week 5 Splying2-ply Bulky


There was also learning how to make stable singles that could be used for knitting and wouldn't fall apart on you.

(L2R)
  • Brown Merino/Cormo cross - Woolen spun single, 28-32 WPI @ 20 % twist
  • White: 2-ply lace yarn - 115 yards. I "think" this is superwash merino


Specialty Plying:

In addition to regular-old plying, we practiced for specific plying, such as plying with a very tight twist (for socks and such) to navajo to cable plying

(L2R)
  • Red: 3-2 cable ply -worsted  -- akin to Greenland yarn
  • Brown: Very tight twist 3 ply .
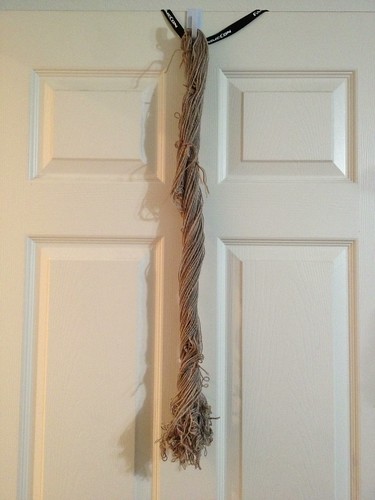
Sometimes, having a "balanced" yarn isn't what you want. Socks require extra twist in order to last long, so when they come off the niddy noddy, it might appear to be a mess of curls, but it's crucial to having sock yarn. So, it's good to know when you need tighter twist in your yarn, versus having a "balanced" yarn.


I hope you guys liked the photo summary of SpinU. Again, I highly recommend taking a class such as this to improve your skillset!
Tuesday, December 4, 2012

Spin U: Third Trimester - Weeks 9-10

Week 9

This week, we continued working on novelty yarn spinning, including core spinning. This part was a lot of fun. We leared how to do turkish knots & beehives. We spun up some silk at a very tight WPI and angle so that we could do these techniques.

Sandy provided some nylon core yarn for which to wrap our spun yarn around.

Turkish Knots &; Beehives

Beehives & Turkish Knots

Week 10

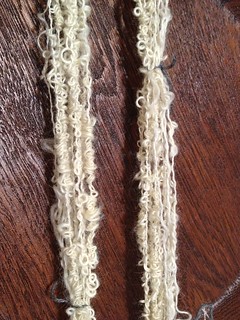
As much as I hate knitting with boucle, it turns out that I'm pretty darn good at spinning it. For our homework, we had spun some long wool yarn, which then got turned into boucle for this session.

Boucle

Boucle

Frosted Yarn

Frosted yarn is essentially a form of novelty yarn where you "frost" yarn with roving, mohair, or other fiber. I don't particularly care for this type of novelty yarn either, but it's good to have the technique down.

Frosted

Cotton spinning.

Then, it was onto learning how to spin for cotton. Sandy helped us set up our wheels and demonstrated how to spin with cotton. Then gave us homework to spin cotton.

I hates it I do...

I discovered that I dislike spinning cotton. I *could* do it, but do I want to? No. Sandy had us spinning both worsted & woolen. I prefered woolen over worsted, but that's like saying, I'd rather burn my hand versus burning the bottom of my foot. (Honestly, I'd just prefer to avoid both if at all possible). My DH listened to my swear like a drunken sailor the entire time I was spinning.....

I used a cotton top (worsted) & cotton punis (woolen) for spinning. This photo shows the woolen spinning with the cotton punis.
Cotton Punis Woolen Spinning Cotton Puni
And the resulting yarns?

Worsted Spinning
This form of spinning cotton makes for a VERY HEAVY yarn -- as in rope heavy. The yarn itself doesn't feel like rope, but it is heavy.

Cotton - Worsted

Woolen Spinning
Spinning cotton woolen leaves you a much lighter yarn weight for the amount of fiber (which makes sense).
Woolen Cotton

Here they are side by side. You can see how much "denser" the worsted spun yarn (bottom) is compared to the woolen (top)
Worsted / Woolen Cotton


Monday, October 15, 2012

Spin U: Art Yarn Week 7

In SpinU this past week, we learned how to do "thick/thin" singles -- essentially art yarn. Most beginners can do this type of yarn because they haven't learned how to consistently draft yet. But, as a beginner's skillset increases and their drafting becomes more consistent, it becomes harder to do something like "thick / thin" yarn.

So, this past Saturday, we learned just how to do this technique. And I have to say....I dislike it thus far although there were some in my class that absolutely LOVED it.

The basic gist of doing this technique is to set up your wheel for the "thick" part, so using a slow ratio whorl. Then draft your "normal" way, but every now and then, "jerk" a chunk of fiber out of your passive hand (and slowly add twist & structure to it), then go back to whatever your normal drafting. The best type of fiber to use is something that is slightly felty that you would have trouble normally spinning with because of the felted chunks (perhaps due to dye'ing). Luckily, I had some from a dye'ing attempt gone awry.

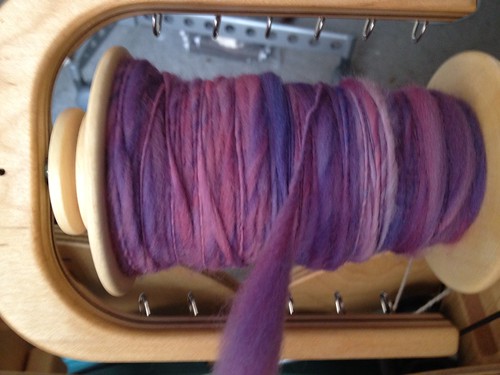
Thick Thin Roving - Felted

Take the fiber and split LENGTHWISE down the roving and start spinning. Eventually, you get something that looks like this on the bobbin:

Thick Thin on Bobbin

It was definitely a challenge to work on this project, and I had to stop frequently because my wrists were getting tired and "jerking" chunks of fiber out somewhat taxed my wrists a bit until I started pinning the roving down against my leg with my passive hand. Eventually, I finished this bobbin (slated to be a "single" of thick/thin yarn), and wound it off onto the niddy noddy.

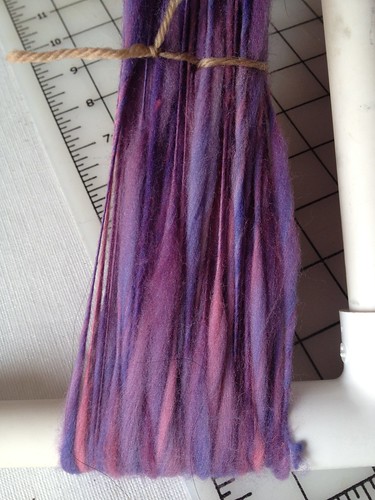
Thick Thin on Niddy Noddy

Sandy, our instructor, had advised us for our "single", that we wash it under tension, so my PVC niddy noddy was perfect as I could just wash the whole thing. The challenge was to find something "big" enough where I could soak the whole of the niddy noddy in the wash.
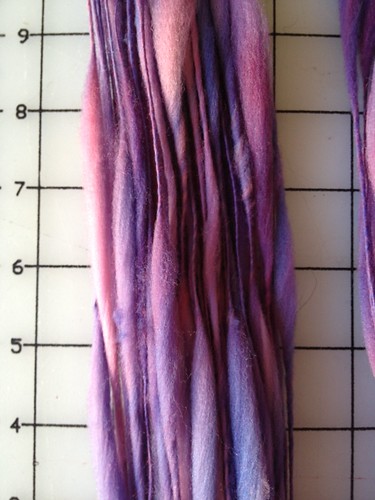
Afterwards, it came out looking like:

Thick Thin after washing2

Thick Thin after washing
Overall, thick/thin yarn is not my thing. I can see where this technique is useful and what you can do with roving that came out slightly (or a lot) felty that wouldn't be appropriate for regularly spinning. It's good knowledge to have, and something to help change things up a bit in your spinning.
\
While I am not overly pleased with the result -- I'm not a fan of art yarn anyways) --- I think that the resulting thick/thin yarns would be good for yarn hair falls. But it's not something that I would use regularly -- I almost never use art yarn in my normal everyday knitting.

On our next class, we learn how to take some of the thick/thin singles we created and ply them into a two-ply yarn.

Wednesday, October 10, 2012

SpinU: 2nd Trimester Homework - 3ply Worsted

Just some photos from one of the homework assignments to the finished skein.

From this:

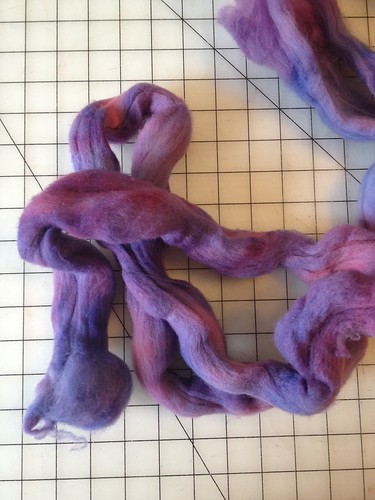
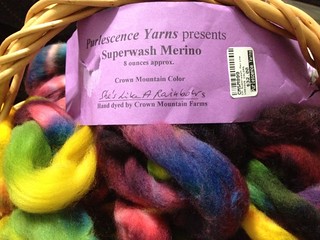
8oz of Crown Mountain Superwash Merino dyed to "She's Like a Rainbow"

Untitled

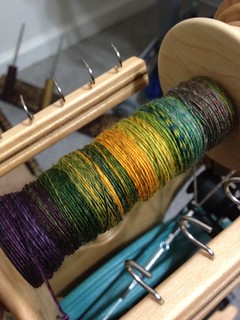
to 3ozs of singles across 3 quills.

SpinU Homework - Week 5 Homework

to the finished skein
Spin U - Week 5 Splying
Worsted Weight 3-ply.

I "think" its about 120 yards?  I need to spin up and ply the rest of the fiber, but I'm very happy with the result.

Monday, October 8, 2012

Spin U: Trimester 1

I've been attending SpinUniversity over at Purlescence Yarns for the past several weeks, and so far, so good. We're concentrated on spinning worseted spun yarn, and I'm learning quite a bit about how to improve my spinning in a lot of technical ways.

  • getting more consistent yarn in the singles
  • how to ply better.
    • plying doesn't always fix certain problems and how good-in will always make make a good-out.
  • ergonomics on spinning
    • how best to hold yourself when spinning singles
    • how plying isn't ergonomic at all, but the things you can do to help mitigate it.
    • how to correctly hold your yarn during plying so that you can control the amount of twist effectively
  • how sometimes, even the best of intentions in plying will neccessitate the need to call someone to help you untangle your singles.
  • why "balanced yarns" isn't always better
  • what types of yarns are best for some types of fabrics  --- why energized yarns are better for socks or outwear
  • you don't always have to wash, full, and set your yarn. And if you spin it correctly, you don't even need to wash your yarn (unless it's dirty, of course)
Homework, in general, consists of reading and spinning a lot of singles. In class, we ply those singles so that we can get our form corrected and immediate feedback on how we're doing. Sandy's been an awesome teacher providing feedback to each individual student on what they need to improve upon. It's really a matter of practice.

We're in the 2nd trimester of SpinU right now, and I'll be posting photos and updates as we go. But for now, here's my notes regarding this past trimester.

Week 1

In Week 1, we basically went over the Greensheet for the class, the physics of spinning, then Sandy demonstrated how to actually do worsted spinning. There was a lot of practice in class, but I think most of us knew how to do it. It was just a matter of doing it ergonomically correct.

For homework, we were supposed to spin up 2 ounces of singles to ply in class. This was singles at 36-40 wpi @ 20 degree twist angle.

Week 2:

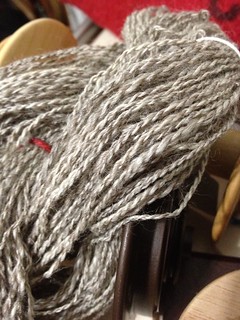
We plied it our homework in class, and I got some lovely 2-ply lace yarn.

SpinU Homework

Week 2's homework was 3 bobbins of singles but at a higher twist angle (30deg) but slightly lower WPI (32-36 wpi). This was a lot more difficult than it sounded. I had a slightly hard time with this homework, mostly due to the high twist angle, and my singles were extremely lively and had a lot of corkscrews. When I got to class, I wasn't the only one who had problems and a lot of corkscrews in our singles.

Week 3:

Sandy knew exactly what we had done "wrong" in spinning our singles and pointed it out to us-- mostly how to "not" pull when feeding the yarn versus letting it just slide through. I tried to apply this advice to the homework afterwards and it really helped.

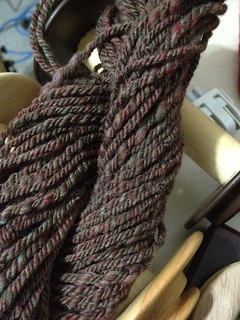
In class, we worked on 3plying from the homework. In class, we plied our homework into a 3ply yarn -- and I ended up with yarn that was very "lively" and curled in on itself and felt like rope. I hated it. However, Sandy assures me that it's fine. I felt a little better after that, but I still hated the color. The wonderful roving that I had gotten (greens and reds) and turned into a mottled brown).

SpinU Homework

For this yarn, Sandy did recommend that I wash it after it "relaxed" after a few days, but not to full it. The washing process helps "tame" or "set" the yarn so you can knit with it. She told us about how sock yarn is super lively and if you don't wash and set the sock yarn, it becomes impossible to knit with because it'll tangle onto itself.

The particular skein would be "perfect" for sock yarn (except that it's a bit too thick), but the liveliness of the twist is perfect for sock yarns of outwear garments. But these samples aren't really "enough" to knit with as we're learning, and to which we can refer to later. So, this gives me a baseline of what I need to do for spinning for socks, which I haven't done yet because I find it intimidating.

For homework, we spun 2 bobbins of singles @ more than 30% twist, 40WPI+ (which for me was easy)

Week 4:

I missed Week 4 of class (which was mostly on how-to clean the wheel and take care of it.) So I did a make-up with Sandy. She primarily wanted to go over my plying techniques. This week's plying was much easier than the others.

SpinU Homework
At this point, we went on a 2-week break due to some scheduling with another class. Our homework was a lot more due to that fact, which I'll recount in the next post for the 2nd Trimester.