So, my primary lesson is...START SEWING EARLIER THAN YOU EXPECT! I did start early, but a lot of time was eaten by setbacks and a lot of handsewing leather I had to do for this outfit that I hadn't expected.
---------------------------------
Before I even worked with the leather, I made several different mockups using muslin as my primary fabric. I just wanted to get the fit "correct". With leather, you don't have any "do overs", and once leather has been pierced with a needle or awl, the mark is permanent, so mistakes need to be minimal or non-existant.
I found a good blue leather hide at Tandy. It was big enough to just manage to create everything I needed for the vest. First, it was marking out the pattern pieces, using pencil and a light sharpy pen.
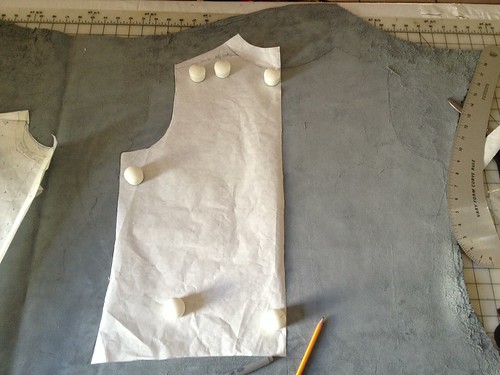
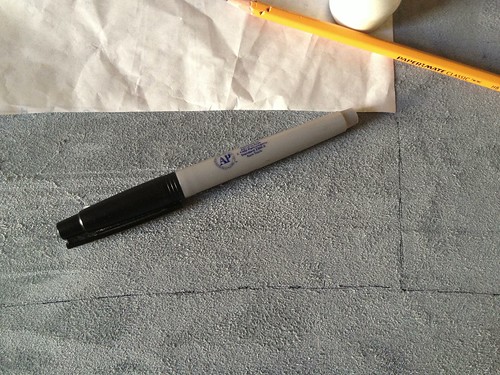
You can't really "pin" leather together, but I do use binder clips to hold things together. In making the four pockets for the vest, I used the binder clips to hold the leather into shape, then attach the lining into the bias tape, and then sew it all together.
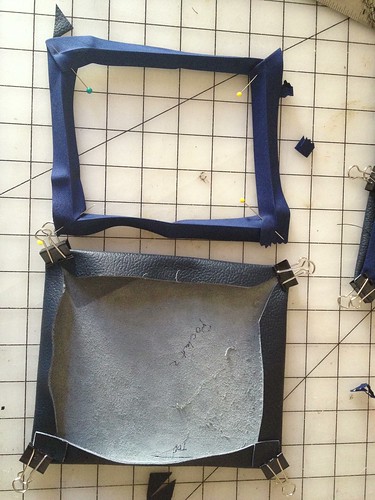
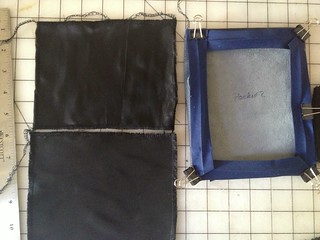
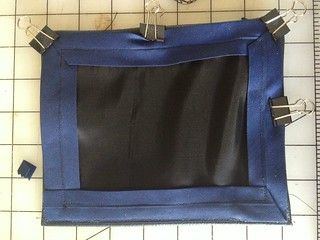
For the body of the vest, I attached the bias tape directly into the leather so I can sew the lining into the bias tape when I'm done.
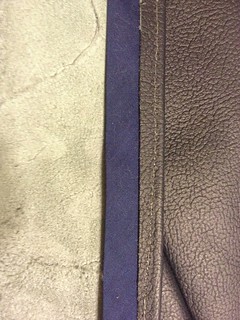
In addition to making patch pockets for the vest, I had to make two double welted pockets for an inner pocket with zippers. This weight of leather was not very conducive to actually making welt pockets. I used some black denim for the inner pocket.
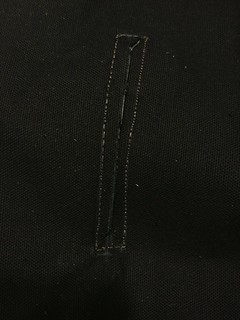
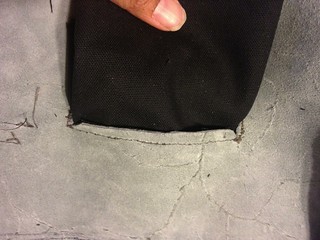
It didn't turn out as well as I had hopped, but it worked well enough.
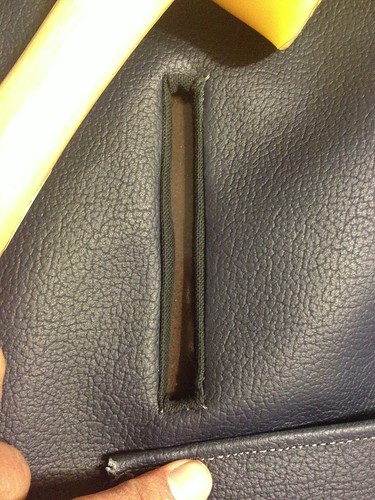
(As a side note: do you know that in order to "press seams" on leather, you use a mallet?" There was a lot of pounding out frustrating & aggression for this costume).
Unfortunately, I ran into an unforeseen problem while sewing. Our Industrial Sewing Machine (ISM) started having problems, the point of severe frustration and a lot of swearing on my part. Due to the weight of the leather, I couldn't use my regular sewing machine (I know, I tried). I managed to sew about 50% of the project before it became nearly unusable. We took it to a nearby shop, and it took the shop a while to fix the industrial machine, which ate a bit of sewing time.
I was getting very anxious as the deadline to finish was creeping up on me! However, the shop found some major issues with it and were amazed I could even sew at all. (I was afraid it was all me!) Now, the ISM purrs like a kitten and I was able to get things sewed quickly.
Unfortunately, I ran into an unforeseen problem while sewing. Our Industrial Sewing Machine (ISM) started having problems, the point of severe frustration and a lot of swearing on my part. Due to the weight of the leather, I couldn't use my regular sewing machine (I know, I tried). I managed to sew about 50% of the project before it became nearly unusable. We took it to a nearby shop, and it took the shop a while to fix the industrial machine, which ate a bit of sewing time.
I was getting very anxious as the deadline to finish was creeping up on me! However, the shop found some major issues with it and were amazed I could even sew at all. (I was afraid it was all me!) Now, the ISM purrs like a kitten and I was able to get things sewed quickly.
While the ISM was in the shop, I finished making the lining on my regular sewing machine and I did lot of hand sewing the leather, which was slow-going. For example, I had to hand sew the belt loops into the outfit -- four layers of leather. It took nearly two hours to sew two belt loops because I had to stop & rest my hands from using the awl.
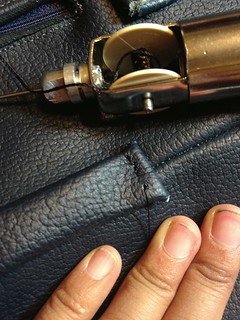
While hand-sewing was tedious and slow, it got me closer to finishing the outfit while I wanted for the shop to fix the ISM.
I realized too late that I had picked a leather that was much too heavy for the purpose I wanted. The color was correct, but the thickness was not. I should have skivved (i.e., thinned out the leather) or found another blue hide of the correct lighter weight). But, I worked with what I had. It was going to be a fairly durable garment piece.
Here's the vest at about 75% done. I realized that I didn't have quite enough leather to do the detail work around her shoulders, so I opted to just "turn" the armscye inwards. As mentioned in previous posts, I went for "good enough" instead of screen accuracy. (Plus, I think I might remake this outfit or do better on the black vest version of her costume)
I realized too late that I had picked a leather that was much too heavy for the purpose I wanted. The color was correct, but the thickness was not. I should have skivved (i.e., thinned out the leather) or found another blue hide of the correct lighter weight). But, I worked with what I had. It was going to be a fairly durable garment piece.
Here's the vest at about 75% done. I realized that I didn't have quite enough leather to do the detail work around her shoulders, so I opted to just "turn" the armscye inwards. As mentioned in previous posts, I went for "good enough" instead of screen accuracy. (Plus, I think I might remake this outfit or do better on the black vest version of her costume)
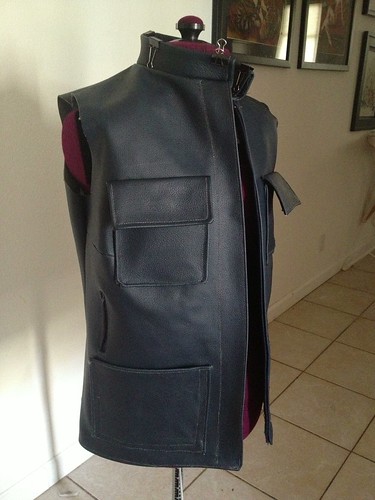
(Partially complete outfit, sans belt loops, pocket closures, belt, and lining)
By the time the ISM got back to me, I only had to make the belt and top-sew the collar, which was about an hour's worth of work on the ISM.
Here's the finished outfit with the glasses (which I think added the extra touch for the Agent May outfit). I think it worked out really well, especially standing there with Nick Fury!

There are a lot of little problems that I need to fix for the next iterations. For example, I should have used a thinner leather or have skivved the hide to make it easier to work with. Plus, I eventually found some screencaps of the back of her black leather vest, which would have made my life easier (as I had to guess how they did it). But that I'll incorporate into her next vest.
The End (for now....)





 will give you several different results.


