Saturday, May 31, 2014

The Making of Melinda May: Part 3 - The Leather Vest

At onset, the idea of making a vest is a simple one. I've made vests before with very little trouble. However, what I didn't take to account that I was working with leather, and leather has it's own little idiosyncrasies which can be very frustrating. There were other issues along the way (i.e. a broken sewing machine) so, I had to take a couple of short cuts here and there to make my deadline of finishing this costume for Fanime 2014.


So, my primary lesson is...START SEWING EARLIER THAN YOU EXPECT! I did start early, but a lot of time was eaten by setbacks  and a lot of handsewing leather I had to do for this outfit that I hadn't expected.

---------------------------------

Before I even worked with the leather, I made several different mockups using muslin as my primary fabric. I just wanted to get the fit "correct". With leather, you don't have any "do overs", and once leather has been pierced with a needle or awl, the mark is permanent, so mistakes need to be minimal or non-existant.

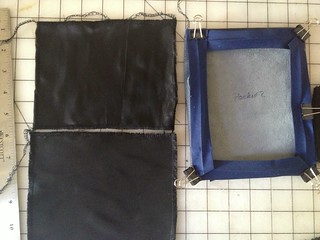
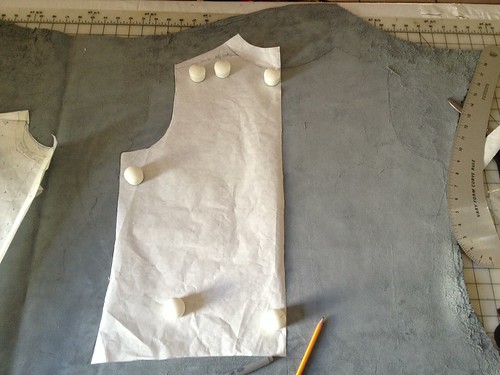
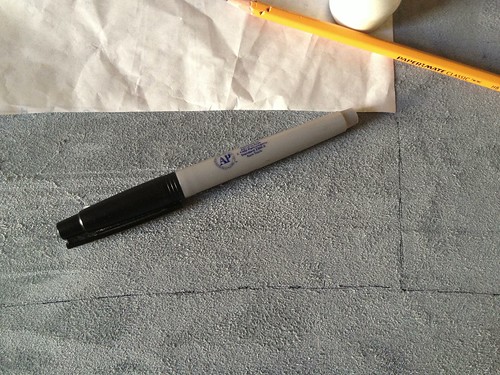
I found a good blue leather hide at Tandy. It was big enough to just manage to create everything I needed for the vest. First, it was marking out the pattern pieces, using pencil and a light sharpy pen.
Untitled

Untitled

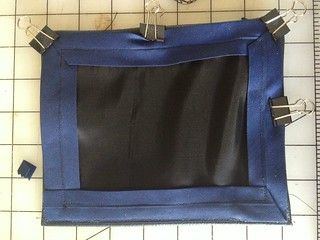
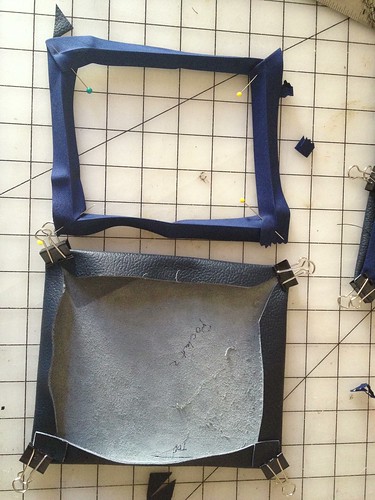
You can't really "pin" leather together, but I do use binder clips to hold things together. In making the four pockets for the vest, I used the binder clips to hold the leather into shape, then attach the lining into the bias tape, and then sew it all together. 
Untitled
Untitled
Untitled


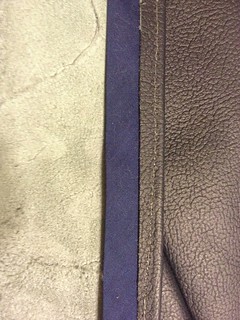
For the body of the vest, I attached the bias tape directly into the leather so I can sew the lining into the bias tape when I'm done.
Untitled

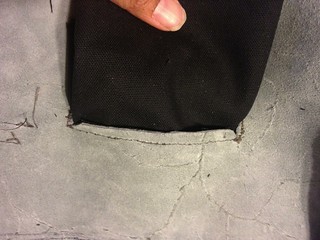
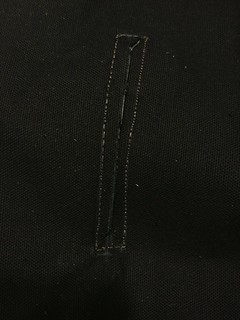
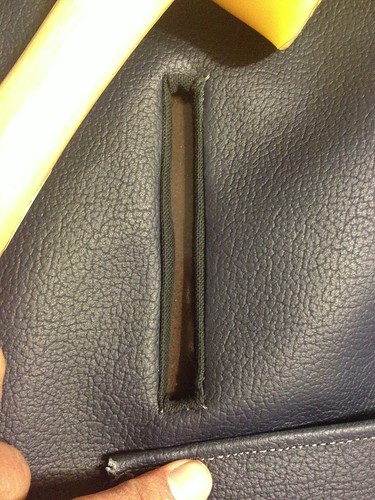
In addition to making patch pockets for the vest, I had to make two double welted pockets for an inner pocket with zippers. This weight of leather was not very conducive to actually making welt pockets. I used some black denim for the inner pocket. 
Untitled Untitled

It didn't turn out as well as I had hopped, but it worked well enough. 
Untitled

(As a side note: do you know that in order to "press seams" on leather, you use a mallet?" There was a lot of pounding out frustrating & aggression for this costume).

Unfortunately, I ran into an unforeseen problem while sewing. Our Industrial Sewing Machine (ISM) started having problems, the point of severe frustration and a lot of swearing on my part. Due to the weight of the leather, I couldn't use my regular sewing machine (I know, I tried). I managed to sew about 50% of the project before it became nearly unusable.  We took it to a nearby shop, and it took the shop a while to fix the industrial machine, which ate a bit of sewing time.

I was getting very anxious as the deadline to finish was creeping up on me! However, the shop found some major issues with it and were amazed I could even sew at all. (I was afraid it was all me!) Now, the ISM purrs like a kitten and I was able to get things sewed quickly.
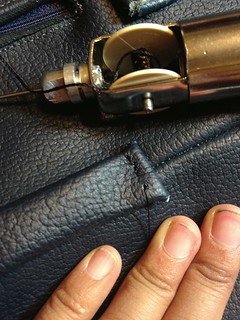
While the ISM was in the shop, I finished making the lining on my regular sewing machine and I did lot of hand sewing the leather, which was slow-going. For example, I had to hand sew the belt loops into the outfit -- four layers of leather. It took nearly two hours to sew two belt loops because I had to stop & rest my hands from using the awl.
Untitled

While hand-sewing was tedious and slow, it got me closer to finishing the outfit while I wanted for the shop to fix the ISM.

I realized too late that I had picked a leather that was much too heavy for the purpose I wanted. The color was correct, but the thickness was not. I should have skivved (i.e., thinned out the leather) or found another blue hide of the correct lighter weight). But, I worked with what I had. It was going to be a fairly durable garment piece.

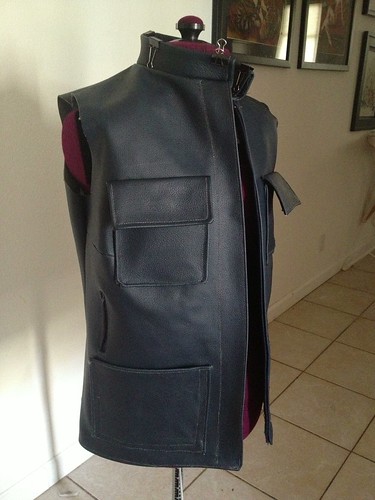
Here's the vest at about 75% done. I realized that I didn't have quite enough leather to do the detail work around her shoulders, so I opted to just "turn" the armscye inwards. As mentioned in previous posts, I went for "good enough" instead of screen accuracy. (Plus, I think I might remake this outfit or do better on the black vest version of her costume)
Untitled
(Partially complete outfit, sans belt loops, pocket closures, belt, and lining)

By the time the ISM got back to me, I only had to make the belt and top-sew the collar, which was about an hour's worth of work on the ISM.

Here's the finished outfit with the glasses (which I think added the extra touch for the Agent May outfit). I think it worked out really well, especially standing there with Nick Fury! 

There are a lot of little problems that I need to fix for the next iterations. For example, I should have used a thinner leather or have skivved the hide to make it easier to work with. Plus, I eventually found some screencaps of the back of her black leather vest, which would have made my life easier (as I had to guess how they did it). But that I'll incorporate into her next vest.

The End (for now....)

Friday, May 30, 2014

The Making of Melinda May: Part 2

In making the Melinda May outfit, I had the option of purchasing most of the outfit.

Now, assembling an outfit with commercially available items is often just as stressful as making the outfit itself. You can choose to have screen accuracy (and expensive) or good enough to pass (often the cheaper alternative. Some of it was easy, and some weren't.

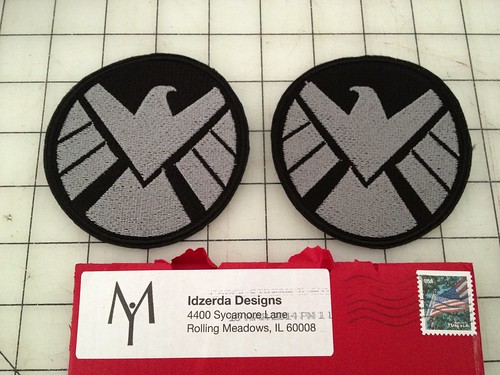
The easiest piece were the Shield patches, which I found on Etsy from Idzerda Designs. They were delivered very quickly and I was happy with the quality. I did find them a bit "stiff" when sewing it onto the shirt, but I figure that with use, it should soften up a little bit.

Untitled

For the shirt, I found a good black base layer shirt with a mock collar and long sleeves, but no thumb holes. For $15.00, it was a pretty good price from Sierra Trading Post, and it matched some of the texture of her shirt.


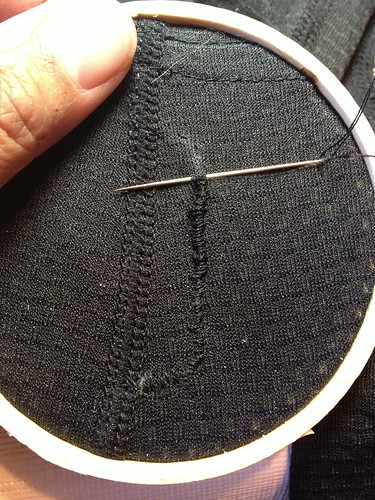
I added thumb holes to the the base layer by hand sewing some very long button holes into the shirt (using my embroidery hoop to help). I did try to do this on the sewing machine, but found it fiddly, so simply hand-sewed it.

Untitled


I found the perfect boots (on sale) from Steve Madden, but unfortunately, I could only get them in brown. However, a quick trip to my local cobbler (and a little bit of $$), and they were dyed a nice black color. (Also they are very comfortable and useful for every day wear and other costumes, so the boots were worth the investment.)


Here are the boots that she wears. I think it's pretty close.


The pants were a bit tricky. I couldn't find fitted cargo pants for women that had full length legs, so I opted to purchase tactical pants from a military / police uniform store.  Unlike the show, actual tactical pants aren't very fitted and are made more for movement, but I decided to forgo complete screen accuracy for ease of purchase, plus they looked good-enough. I did have some problems with the tactical pants as they were one of the last purchases I made and there were some sizing issues necessitating the need for returns and re-ordering. (Also, tactical pants are excellent for re-using for a number of military cosplays, so another worthwhile investment!)

A search on Amazon for women's tactical pants will give you several different results.

Surprisingly, getting the glasses proved to be a bit tricky, especially as they were the last bit of the costume I wanted. I didn't want to spend too much on the glasses, but finding something within budget that fit my face proved tricky. So I just purchased some 'cheap' aviator mirror glasses that worked well enough. She doesn't wear them on screen all that often, and only the cosplay nazis might ding me on the screen accuracy. I was originally going to forgo purchasing them, but they really made the outfit when I put the whole thing together. (When you see the final costume image, you'll see....)


Next up! The making of the vest.


Thursday, May 29, 2014

The Making of Melinda May (Part 1)

The month of May is always pretty busy in terms of just events that are occurring, and the preparation to go to those events. And then add actual work load (the stuff that pays a salary and not the work required to do those FUN things)....it gets pretty hectic.

So, let me catch you up on some of the things I've been doing.

I decided a while ago to make a Melinda May costume from Agents of Shield. She has two iconic costumes, but they have the same basic items: leather vest (blue or black), a Eurojersey shirt with thumbholes (blue or black) and black pants.

Tyranny of Style interviewed the costume designer, Ann Foley, for Agents of Shield, which gave me a bit of insight on the design and colors.


I opted to make the blue leather vest outfit (top photo). There wasn't anything close enough that could be modified to make, so I was going to have to make her iconic vest myself.  Plus, it would give me a chance to work with leather. (I have never made a leather garment previously!)

The rest of the outfit was fairly "simple" in terms of costume, and could be available commercially. (I love not having to make everything for an outfit. So, what I needed to get were:

  • the Shield patches. According to the designer, the patches were printed onto the shirt.


  • the shirt with thumb holes


  • tactical pants (preferably fitted)


  • kick-ass boots


  • aviator glasses, as she does drive the Flying Bus.


Then it was a simple matter of just making the vest, right?
Yeah...right.....

Onto Part 2!


Wednesday, May 7, 2014

Franklin Habit Lecture

I'm so behind on my blogging and trying to catch up with at least some of the photos I've taken.

Earlier in the year, some friends had posted that Franklin Habit was going to be teaching classes over at Verb for Keeping Warm. I was going to have my SpinU intensives during that time frame, but I definitely wanted to hear him speak; maybe attending a class with him, if it warranted.

Unfortunately, either the classes didn't interest me, were not really meant for me (i.e. photography for knitters), or were in direct conflict with my SpinU class. Luckily, VFKW also added a lecture with Franklin on the history of knitting called, "Impractical Magic".

At first, I didn't quite manage to get into the lecture (being put onto a waiting list much to my disappointment), but they had a cancellation and I got to go! However, it was about 1.5 hours right after my SpinU class, and it takes about 60 minutes from Purlescence to VFKW (plus I had to drop off my wheel back home!)

The drive up was a bit harried (and of course, I hit a bit of traffic on the way to VFKW). Luckily, I found a good parking spot and managed to arrive a few minutes before he started.

Despite the hiccups, I'm really glad that I went.

Franklin is an extremely funny and engaging speaker with a penchant for puns. Some of what he presented is present in his blog, The Panoptican, but with much much more detail and he brought his knitted samples. He also presented other bits and bobs from fiber crafting history (especially in the Victorian era where there were many booklets on various topics from knitting to macrame to metal working.) Everything was extremely informative and hysterically funny (as he presented them).

If you get a chance to hear him speak, I highly recommend it. He's an absolute treat to listen to and a sweetheart of a guy.

Monday, May 5, 2014

Blocked & Finished Objects Weekend

This past weekend, I managed to get two items blocked & finished for wearing! These projects were already very close to finishing so I just decided to push through to finishing and blocking

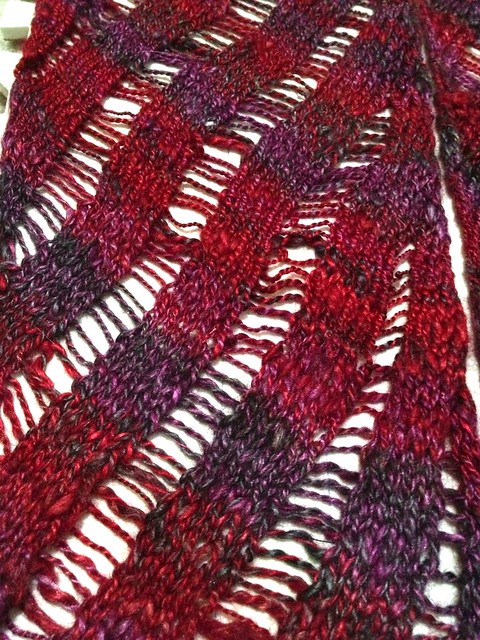
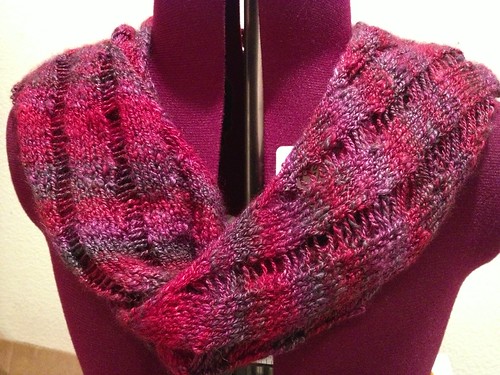
  • A skinny Clapotis scarf made from my handspun Cashmere & Silk from Abstract fibers in the colorway, Malificent.
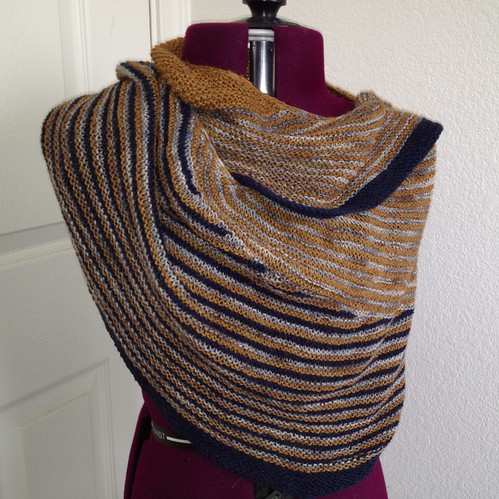
  • The Color Affection shawl knit with MissBabs fingering weight yarn

It's always amazing what blocking can really do for a shawl.

The Clapotis was a nice knit and went pretty fast. I had to rip back a couple of times; once for a dropped stitch that wasn't supposed to be dropped and once because I missed a KTOG and YO in the same row.

Blocking Clapotis
Skinny Clapotis

Dropping all of the stitches was a bit tedious. However, it came out fabulously, and I can't wait to wear it.

Skinny Clapotis
Skinny Clapotis

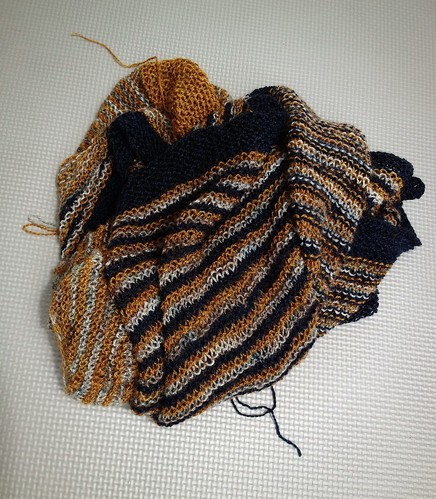
I had been "almost" done with the Color Affection for nearly two months, only needing to finish the last two inches of the bottom most border (in blue). However, long rows in garter stitch are rather boring, so I procrastinated.

This weekend, I was procrastinating on doing something else, and got the bug to just finish this shawl. Of course, I ended up staying up until 2am to get 1.5 inches (3cm done) ; and then decided the next morning it was big enough and just bound it off.

A Wet & Unblocked Color Affection
Unblocked Color Affection


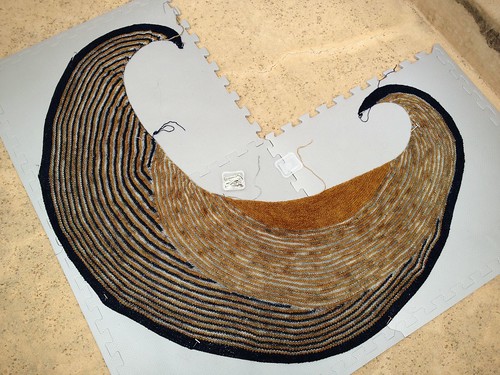
It took 3 of the large 24x24" squares to block it. Luckily, it was a warm day and it dried very fast. Although, a breeze did try to move it several times.

Blocking Color Affection


Afterwards, I wove in all the ends. Viola! Finished object.

Blocked & Finished Color Affection

It feels good to get projects done. Now, I just have to finish sewing for Fanime!

Friday, April 18, 2014

Doctor Who Vest

If you love Doctor Who and cosplaying, here's a little item that you might be interesting in purchasing ....that is, if you're not quite willing to knit a ton of intarsia.

Die-hard Dr. Who knitters might chastise me for not knitting it myself, BUT, I have a finite amount of knitting time and a very large Ravelry queue to create. This sweater vest is quite affordable and means I can spend time on other endeavors!


ThinkGeek.com had carried for a little while, and I immediately got my own from them. It's a BBC-approved "jumper", and sold by a British manufacturer, Lovarzi.

Of course, as a knitter, I totally had to look at the workmanship. It's obviously machine-knit, but it's assembled pretty darn well. Their sizing is pretty accurate. I ordered for my size (according to their chart) and it fit well.


Unfortunately, it's made knit out of acrylic, but the finishing is pretty good. For instance, the seams aren't serged, and everything lines up quite nicely.


And I think the pocket is steeked.

Obviously, I'm going to have to make the rest of the outfit to do a cross-play of the 7th Doctor.

Thursday, April 17, 2014

SpinU: Woolen Intensive - Week 6

The last class of the SpinU Woolen Intensive was primarily a wrap-up of all the things we learned, some show & tell, and some fiber swapping.

For my homework for this class, Sandi let us spin whatever fiber & fiber prep we wanted, but it had to come out a 2-ply fingering weight. For this, I chose 2 ounces (~56 grams) of pure cashmere.

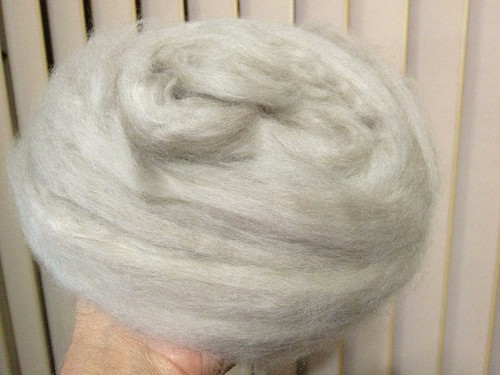
Untitled
(Looks like a cloud, doesn't it?)

It was lovely, it was soft, and it spun like an absolute dream. When it came off the wheel, it was absolutely perfect -- slightly over twisted in the plying. Woolen-spun yarns tend to lose twist, so overplying by a little bit is a good thing here! I ended up with 160 yards.


Untitled

After washing and fulling it, it came out nearly balanced with a slight over twist. Perfect!

Untitled


Untitled 

Folks in class brought their homework for show & tell. There was plenty of lovely fibers; one student had such a stressful week that she managed to spin up vicuna, camel, cashmere, cotton silk, and a whole slew of other sampler skeins as her relaxation!

But for class, we primarily spun more fiber; I got to spin up a little bit of bison, while another student attempted some dog hair.

Bison is also a short staple length fiber, but I found it slightly harder than cashmere to spin. The fiber is not completely uniform in length --- bison are not bred for fiber -- so the fiber looks more "rustic". But, it's nearly as soft as cashmere (and just as warm).


Bison

The finished skein is lovely. I washed and fulled it slightly for a nice halo effect. It's also about a heavy fingering weight.
Bison

Friday, April 4, 2014

SpinU: Woolen Intensive - Week 5

For week 5 of the class, we took our homework (a 2-ply single) and created a 3-2 cable ply, which is 3 plies of 2-ply yarn. It's a lovely sturdy yarn, and if you're familiar with Cascade Greenland or Cascade Venezia, then you're familiar with this type of yarn.

Because this type of yarn has so many plies, the singles have to be very thin. In this instance, I spun up about 80 WPI singles, which turned into a 40-WPI 2ply, which then became a 20-ply sportweight. Sandi suggested that I go ahead and wash/full the resulting yarn, and oh boy, what a difference!


UntitledUntitled
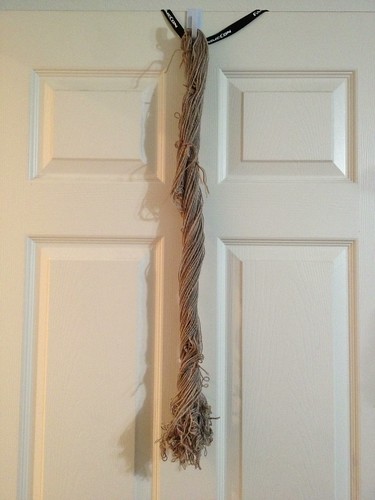
The yarn (before fulling) and then after.

For woolen spun yarns (even cable plied yarns), a rigorous fulling (including thwacking the yarn) helps the fibers fluff out and become more stable.

(Have I mentioned I love spinning yak & cashmere?)

In addition, we continued spinning cotton in class for practice, and I was getting fairly frustrated with some of the cotton top I was spinning, so Sandi started swapping out what I was spinning, and what a difference!. Check out the differences in both types of cotton that I spun within 10 minutes of each other.

Untitled

I finally found a cotton top that allows me to spin relatively well and allowed me to refine my technique and spin thinner. While cotton is still not my ultimate spinning fiber, we are finally starting to get along, albeit slowly.

Next week is our last class for this SpunU, which is slightly sad, but so far it's been a great learning experience.

Wednesday, April 2, 2014

SpinU: Woolen Intensive - Week 4

This week, our practice with cottons paid off, as we started spinning some luxury fibers -- yak/merino, yak/merino/silk, cashmere/merino, cashmere/merino/silk, cashmere.

Unlike cotton, the shorter staple fibers (yak & cashmere) still have scales along the hair shafts (very small scales, but still there) which help in the spinning process. Mix blends (such as those mentioned above) are easier to spin initially because the different staple lengths help stabilize the shorter ones.

In a yak/merino/silk blend, the merino acts as the middle man to bridge the gap between the staple lengths of yak (very short) and silk (VERY long). Whereas in a yak/merino blend, the merino acts as the long staple length.

For homework, we spun various singles and then created a 2-ply. Sandi asked us to ply as close to class as possible, in order to keep as much active twist in the bobbin, because woolen spun yarns tend to lose twist, even in plying. We were going to do a 3-2 cable ply in class.


Untitled

It was very fun spinning the luxury fibers. It was a much different experience than having to deal with cotton.

Tuesday, April 1, 2014

SpinU: Woolen Intensive - Week 3

I'm trying to catch up on all of my crafty & geek blogging, but have failed miserably. I promise more interesting stuff to come down the pike.

So, week 3 of the SpinU Woolen Intensive has come and gone (expect some rapid fire posts on this subject soon!) We continued working on spinning from the fold, but transitioning to the tips of the fiber. (Abby Franquemont has a good explanation of spinning from the fold on her website.)

Spinning from the FoldSpinning from the tips
(Spinning from the Fold / Tips)

Why, you might ask? Because spinning from the fold is a lot easier, but you end up with waste, whereas spinning woolen from the tips is more fiber-efficient. There are those that might argue about whether one method is more truly "woolen" than the other, but as Sandy points out, when you're spinning cashmere @ $10 USD per ounce (~28 grams), you're more worried about using your fiber with as little waste as possible.

In addition to working on this transition, we were working with short staple fibers --- namely, cotton. From the last SpinU, cotton was my bane. I had such trouble with it.

However, with this SpinU class, it has gotten a LOT better. Cotton & I are still not on great terms, BUT, I can spin a passable form of cotton. And, I found that the type of cotton grown and the type of preparation really does make a difference in how well I can spin it. Just like wool, not all cotton is equal and is dependent on a number of factors. Previously, I found punis easier to spin, but this time around, I could spin certain cotton tops easier than others.

For homework, we were to spin a larger single (nearly sport weight) of cotton, which was harder than I had anticipated, but apparently, to be expected. Then ply the singles into a 2-ply.

Cotton! 

The result, while not fantastic, wasn't too bad either. In the pre-wash photo, it's a very tight ply, because woolen (unlike worsted spun yarns) don't tend to hold their twist, so overplying becomes necessary.

Untitled

There's a mantra for spinning woolen that I picked up from Judith MacKenzie (paraphrase) -- spin singles lightly, ply together tightly.

Next up, luxury fibers!

Friday, March 21, 2014

Here Be Dragons!

I got an awesome package in the mail today! It's the "Dragons" kit from Mary Scott Huff & Abstract Fibers! It's gorgeous, it's beautiful, and the yarn (Alto) is so luxurious!

Untitled

I ripped it open soon after I walked in through the door (right after I fed the kittens, because hungry kittens don't wait for any yarn kit no matter how squee-worthy).

I can't WAIT to start knitting on it....

...


As soon as I finish the mounds of WIP I currently have on the needles.....
Must. Knit. Faster.....

Wednesday, March 19, 2014

SpinU: Woolen Intensive - 2nd week

The second class of SpinU has come and gone, and I'm still learning new stuff. The homework due for class was to spin a 2-ply yarn out of our singles

Untitled

The resulting yarn was a very lofty 2-ply yarn (80 yards.

For the second class, we worked on perfecting our woolen joins from both the fold and at the tips of our prepped fiber. In order to see if we were doing the joins correctly, we used alternating black and white merino fiber.

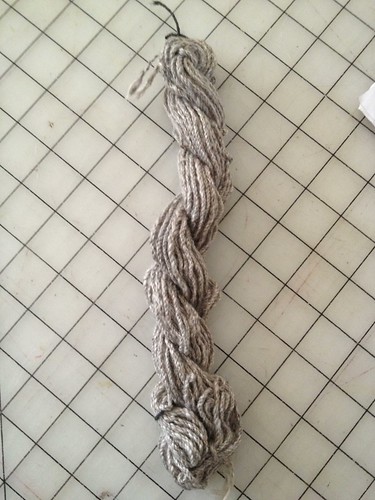
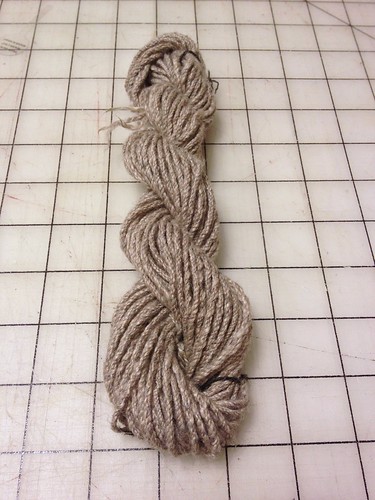
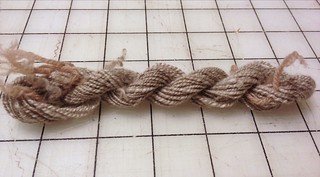
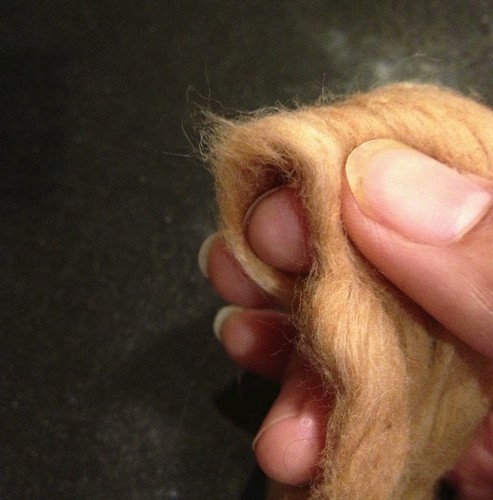
This was not as easy as I had thought or had hoped. Because you allow the twist to go into the fiber, when you join new fiber, you might get a thin & thick spot as the twist works its way through the fiber supply as you pull backwards.

A picture is worth a thousand words, so here is a shot of what I mean. I'm spinning relatively thinner yarn (about fingering weight as a single), so it might not be clearly obvious, but when you ply this yarn back on itself, you can clearly see that there are uneven spots

Untitled

According to Sandi, we could "cheat" and do a worsted join into our fiber, as the joined fibers would be going in the "correct" direction as woolen spinning. However, for a "true" woolen spun yarn (for the spinning nazis out there), we should learn how to do a good woolen join instead, which becomes more important as you start spinning shorter staple fibers such as cotton, camel, and quivit!

For homework, we continued to work on doing woolen joins and creating a 2-ply yarn so we can really tell if our joins looked good.

Untitled

Saturday, March 15, 2014

Handcrafted vs. Homemade

Blocking my sweater in stages is progressing slowly. The evening after I blocked the front pieces, I blocked the sleeves. It took 8 wires to block each sleeve; thus using up all of the block wires in my blocking kit.

Untitled

Someone asked me why I block my knits as this unnamed knitter never blocked any of her knitted items.

Untitled

There are plenty of reasons to block your knitted items. There are a lot of previously written articles on why you should block, especially if you're knitting a lace shawl!
I can understand why people don't want to block. It's extra time and effort that could be spent doing something more fun....like picking out your next project or starting something new.

But Vogue sums it up nicely for me:  "without blocking, your perfectly knit garment will look sloppy"

IMNSHO, blocking makes the difference between something that looks hand-crafted vs. homemade.  It's the reason why I press seams open when I sew and why I add grosgrain ribbon to my sweaters. It's the extra bit of effort into the finishing touches that can help a finished garment look more couture & polished, and less homespun.

It takes a lot of time and effort to block. For me, just blocking this sweater has taken three evenings. And it'll probably take me a bit longer to seam the sweater, add the edgings, sew in the grosgrain, etc.

  Untitled
 It took 10 wires to block the back piece.

But I know it'll definitely be worth it once I'm done.

Thursday, March 13, 2014

Blocking in Stages

I'm finally getting around to blocking my St. Brigid Aran sweater — the one I had finished knitting for Ravellenics. I was hoping to have a chunk of time with which to block it over a single weekend, but so far that hasn't happened.

I really want to finish this sweater, so I decided to take some time in the evening during the week. My plan was to steam block the sweater and use a closed-off room to lock the pieces away from the kittens. The pieces were small enough to keep it confined to a room (unlike my Knit Swirl sweater).

However, as I started blocking the right & left front pieces, I realized quickly that I was going to need to block this in stages.  First, it took a lot long than anticipated to run the blocking wires through the pattern pieces to make each cable stand out. It took about 30 minutes to block each front piece (running the wires through the fabric, steam blocking, and pinning everything out to the measurements).

It took four blocking wires for just one front piece (8 wires for both left and right); I only have 13 blocking wires in the kit.
Untitled
I left the some of the edges to be seamed alone, per Amy Herzog's technique

I could tell that the sleeves would require even more wires. I was not going to have enough to block everything all at once. I could wait until the weekend to run down to my LYS to buy more blocking wires or just do this in stages.

I'm opting for stages right now, because if I don't do it in stages and wait until I have all of the necessary elements in place, I won't be able to finish this sweater. At least in this way, I am making measurable progress. Patience is the very difficult key to this operation.

 Untitled
Blocking is really making the cables POP!