Thursday, June 28, 2012

Ravelry v. USOC

I'm sure a lot of you by now have heard the kerfuffle regarding the US Olympic Comittee and their very insulting cease & desist letter to Ravelry.

In case you haven't, here are the pertinent links:

  • the cease & desist letter from the USOC legal council, which included terms like "disrespectful" and "denigrating" about our fiber arts
  • this letter led to an outcry from the Ravelry community regarding the tone of their letter on the USOC FB, twitter, and webpage. Places like Gawker picked up on the news.
  • The outcry led to a non-apology apology by the USOC Public Relations director, saying that it was a boilerplate letter and not meant to be insulting. There was another outcry from the Ravelry community about this non-apolgy apology. NPR picks up on the news.
  • FINALLY, an actual apology is finally given. (And apparently, their use of "denigrating" and very insulting tone IS boilerplate for the USOC.)

As an athlete (and former Olympic hopeful), I was deeply saddened & angered by the actions of the USOC. I wrote them a letter from the POV of an athlete and a knitter decrying their behaviour.

However, I have to say, that as a fiber artist, I was very proud of the Ravelry community for sticking together to defend its honor. It's really truly worth while to know that this "grass-roots" community embodies much of the Olympic spirit -- to work together and triumph together for the good of the whole.

This amusing Comic by Worsted for Wear pretty much sums up the initial letter:
Tuesday, June 12, 2012

I can haz gloves?

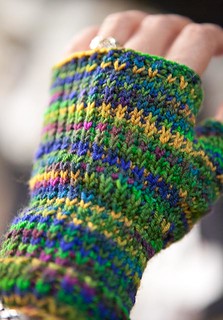
My neice & nephew love asking me for knitted gifts. This year, during our annual trip with our in-laws, my Youngest Nephew saw that I was wearing a pair of fingerless gloves.

Green Apple Mits

Because of our busy schedule, DH & I forgot to stop by the store to pick up a birthday present for him (the beginning of july) and bring it with us. I figured that I could just mail him a gift card (which he loves getting) instead.

But, just like last year, my nephew surprised me by asking for a pair of fingerless gloves for his birthday (which he again reminded me was coming up). And then he specified the colors he wanted. LOL. I had him try on my gloves, and while a little bit big on him, would at least last 1-2 years before he outgrew them.

Not wanting to be outdone, his older brother & sister immediately also asked for gloves too, but I told them that their brother would be getting HIS first and they'd get theirs for the holidays.

Now, I just to go pick up the appropriate color yarn from my LYS!

Sunday, June 10, 2012

Steampunk Rocket Launcher

Rocket Launchers are cool. And for steampunk? Even cooler. I think there's a lot more interesting cultures around the timeline of Steampunk (if you think mid 1800s-early 1900s), and more interesting technologies than just "steam". So, when I thought about my Steampunk Mulan outfit, I thought of rockets. The Chinese have had a long history of rocketry and combustion. They had portable rocket launchers in the Ming Dynasty (14-17th C). Plus, in terms of firearms, the same time frame saw automatic pistols, howitzer cannons, gatling guns, and the ilk.

  • http://www.chinahistoryforum.com/index.php?/topic/32533-the-ming-dynasty-rocket-arrows/
  • http://www.richardwindley.co.uk/series-4-rocket-ballista.html
  • Now, imagine if they continued to evolve their rocketry science! (This is historical based fantasy after all.)

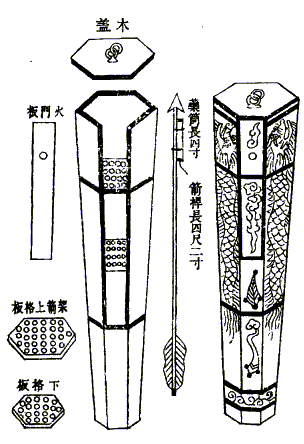
    I decided to keep it simple however, because of time restrictions (about 1.5 weeks to finish), and went with the simple Chinese Rocket launcher, based on these plans.

    The rocket launcher had to be light, portable, and the right size for me to sling across my back and swing to the hip when needed. The arrows I had picked up from the Sporting good store were about 26" long, so the launcher had to be of an appropriate size.

    The trip to Michaels didn't yield enough balsa wood of the appropriate size, but it did give me a base starting point for the width. We decided that making it out of thick foam core board was an acceptable substitute (and save us time from having to run around even more looking for balsa wood). As soon as I got home, I made a prototype of 1/2 scale out of posterboard and masking tape.

    IMG_0941

    Having tested the general shape, I started cutting out the foam core board -- top width of 4.5", bottom width of 3.6 inches, and 27.5" long. It came together easily enough, although I had a bit of a hassle making the inner support structures that would hold the arrows in place, but eventually I got it.

    IMG_0942

    The whole thing was taped together with industrial strength tape. Then, it was modge-podged Sunday night, lightly sanded, then I added a coat of primer, and then the final coat of paint. (This took several days to ensure it dried well enough.)

    I also made some harmless "rockets" to attach to the arrows out of red thick paper, but I'm did consider using confetti poppers instead (and attaching a long string down each one to allow me to pop each one individually...)

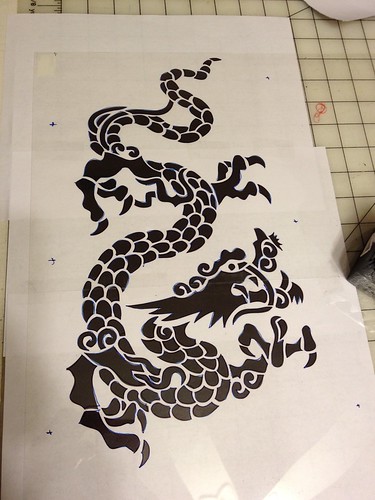
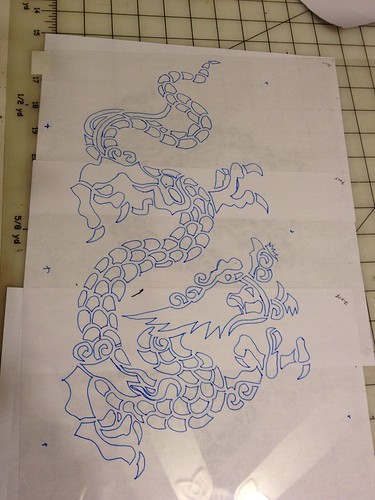
    I found a very nice dragon stencil that I transfered over to a stencil film so that the outside could be decorated similarly to the actual Chinese launchers.

    IMG_0944IMG_0945

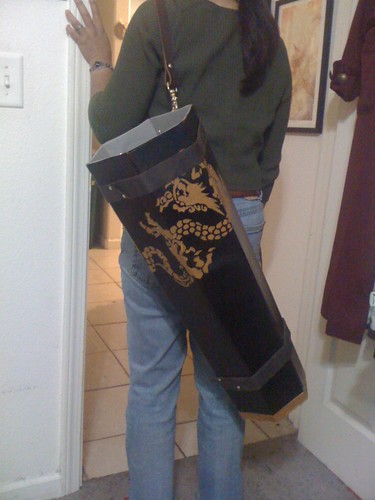
    Then, it was just a matter of making the straps & the backstrap to fit it. Of course, on hindsight, I should have made the straps before putting on the stencil, so that the straps wouldn't cover it, but ah well. It still looked pretty awesome.

    IMG_0962

    Friday, June 8, 2012

    Fourth Sweater of the Year

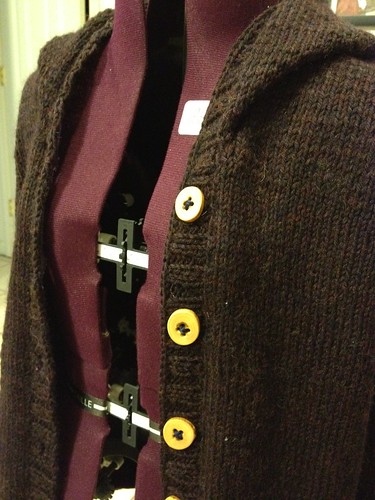
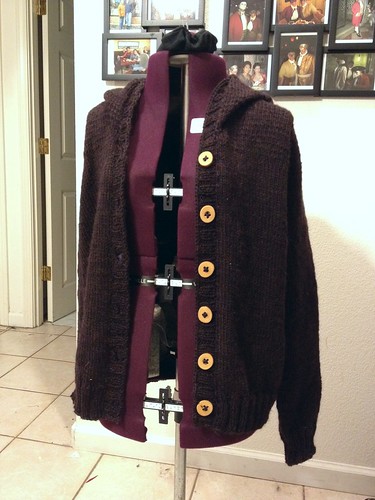
    I had been working on the Chic Knits Basic Hoodie since April 2012. Using some purple tweed of Cascade 220, it's been a really good knit. However, I did put it down a couple of times, especially to work on my Mogwai project that became my "popcorn" knitting (my own design).

    I finally managed to get it done at the beginning of June. It took me nearly a full evening to hand-sew on the grosgrain ribbon on both button bands, as well as sewing on the wonderful hand-made wood buttons I had bought on Etsy.

    I was trying to figure out how best to add the grosgrain ribbon onto the buttonhole side of the button band. I made a couple of different attempts, but I think I have found a solution that's not-so-elegant, but seems to work well. It involves grosgrain ribbon, pinking shears, and fray check. But before I write-up what I did, I want to see how well it holds up to a few wearings.

    And, of course, I finished this sweater just in time for the hot weather to hit on our area. Ah well....

    IMG_0996IMG_1001IMG_0999

    Thursday, June 7, 2012

    Chinese-esque Robe

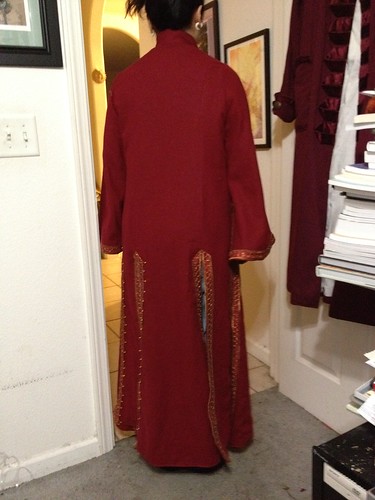
    As part of my Clockwork Alchemy costume, I had to create a Chinese-esque robe that would work with the leather armor. Again, pictures are worth a thousand words, and help cut back on the amount of writing I have to do :-)

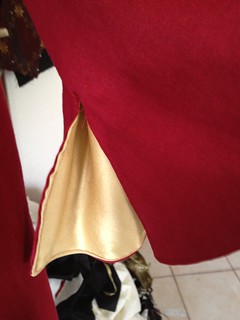
    I used some red linen with a inner gold lining.

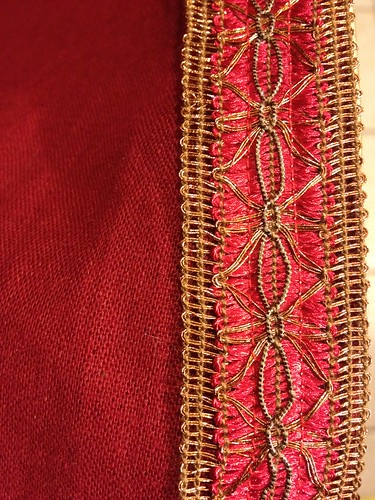
    And I found some matching red trim at JoAnne's Fabrics. I had to go to 2 different stores and ended up with 17-18 yards of trim. I had two requirements for this trim: a) it had to match the fabric b) I had to be able to machine-sew the trim (some trims need to be hand-sewn onto a garment due to its shape.)

    IMG_1005

    17+ yards of trim was barely enough to line all of the edges.

    IMG_0940

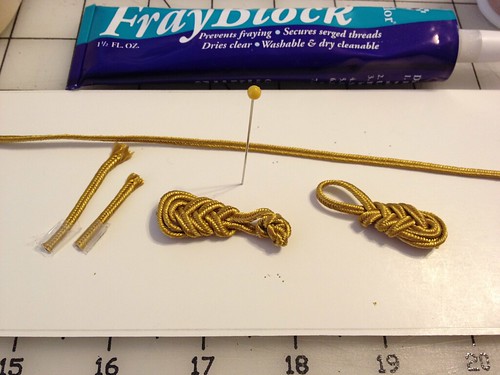
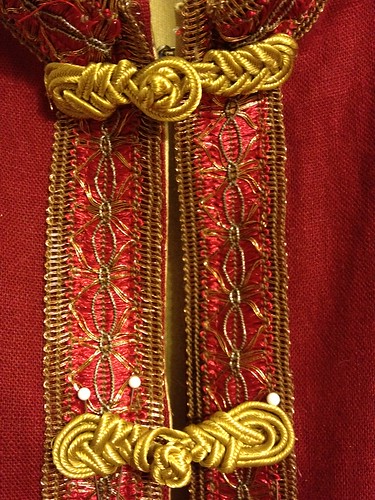
    I wanted to add Chinese frogs for closures, but I couldn't find anything commercially that would work as most stores only sell black or white frogs. So I opted to make my own using some gold trim we had in our Stash. I found an excellent online tutorial for the frog closure I wanted.

    IMG_0970

    It was fiddly at first, but I got the hang of it.

    IMG_1007
    Sufficed to say, I got some nice compliments on the outfit, and it worked really well with the leather armor.